
Adding a banner to Schoology can be an exciting way to transform your learning experiences. Whether you want to highlight key information or personalize your course layout, it is an effective way to make your course more appealing and welcoming for students. In this comprehensive guide, you will learn two easy methods to add a banner to your Schoology course.
Let’s walk through each method to make your course stand out from the first click!
Method 1: Add A Banner To The Update Section
This method is a quick way to display announcements at the top of your course, ensuring students see important information at the beginning. Follow these steps to add a banner through the update section:
1. Create A Banner Image:
- Design a custom banner image using tools like Google Slides, Canva, or PowerPoint
- Save the banner image in PNG or JPEG format on your computer, where it is easy to find
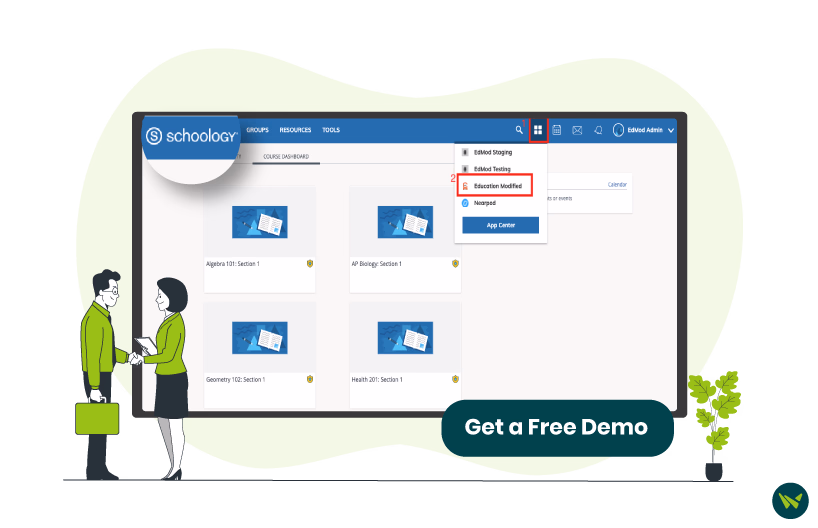
2. Go To Your Schoology Course:
- Sign in to your Schoology account
- Click ‘Courses’

- Select the course where you want to add the banner

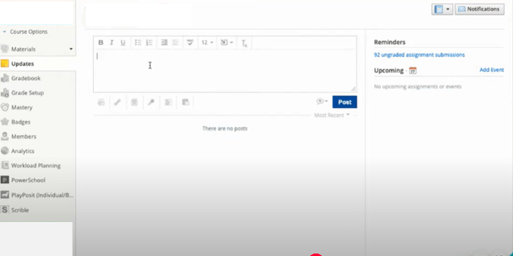
3. Navigate To The ‘Updates’ Tab:
- On the course home page, click on the ‘Updates’ tab

4. Click To Create A New Post:
- In the ‘Updates’ section, you’ll see a text box at the top where you can create a post
- Click in the box to start
5 . Insert Your Banner Image:
- Copy the image from your device and paste it inside the text box

6. Post The Banner:
- Click on the plus button next to ‘Post’ in the bottom right corner of the text box

- Tick the ‘Bell Icon’ box

Important Note: Announcements will only appear in the update section if the bell icon is turned on.
- Click on ‘Post’, and the banner will appear at the top of the page as an announcement

Method 2: Add A Banner To A Course Page In Materials
This method allows you to add a banner to a preferred course page, creating a more customized layout. It is perfect if you want to display a banner as part of your course structure and provide students with additional information, links, or instructions.
1. Go To Your Course Materials:
- From your course, click on the ‘Materials’ tab in the main navigation bar

2. Add A New Page:
- Click ‘Add Materials’

- Select ‘Add Page’ from the dropdown options

3. Insert The Banner Image:
- Click the ‘Insert Content’ button

- Select ‘Image/Media’

- Click ‘Attach File’

- Upload the banner image from your computer. Use files with a maximum size of 100MB per file

4. Page Title:
- Give your page a title, such as ‘banner’
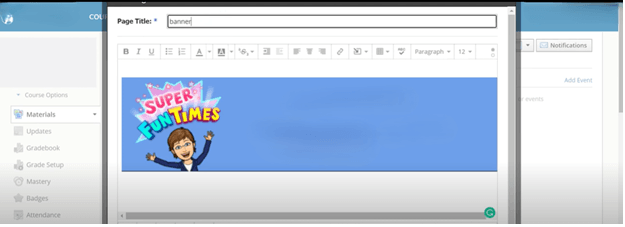
Important Note: Make sure to select ‘Display on new page’ from the ‘Options’ section.

5. Create the Page:
- After inserting the image, click ‘Create’ to save the course

Adding a banner to your Schoology course is a simple yet effective way to engage students. Whether you choose the Updates section for quick visibility or the Materials page for a customized layout, these easy steps will help you enhance your learning experiences.