
Schoology and PowerSchool are two important tools used in many schools. Schoology is a learning management system (LMS) that helps teachers manage classes, post assignments, and communicate with students online. On the other hand, PowerSchool is a Student Information System (SIS) where schools keep student records like grades, attendance, and schedules.
Even though both systems are helpful, switching between them to enter grades or update student information can take a lot of time. That’s where syncing comes in—connecting Schoology and PowerSchool allows data to flow automatically between the two systems. This blog will show you why that’s useful and how to set it up step by step.
Syncing Schoology with PowerSchool means both systems can communicate with each other. For example, if you enter details in Schoology, like grades or assignment scores, it could automatically populate on PowerSchool without making any effort to enter it in PowerSchool. Here’s why this is important:
Follow the given steps to sync Schoology with PowerSchool:
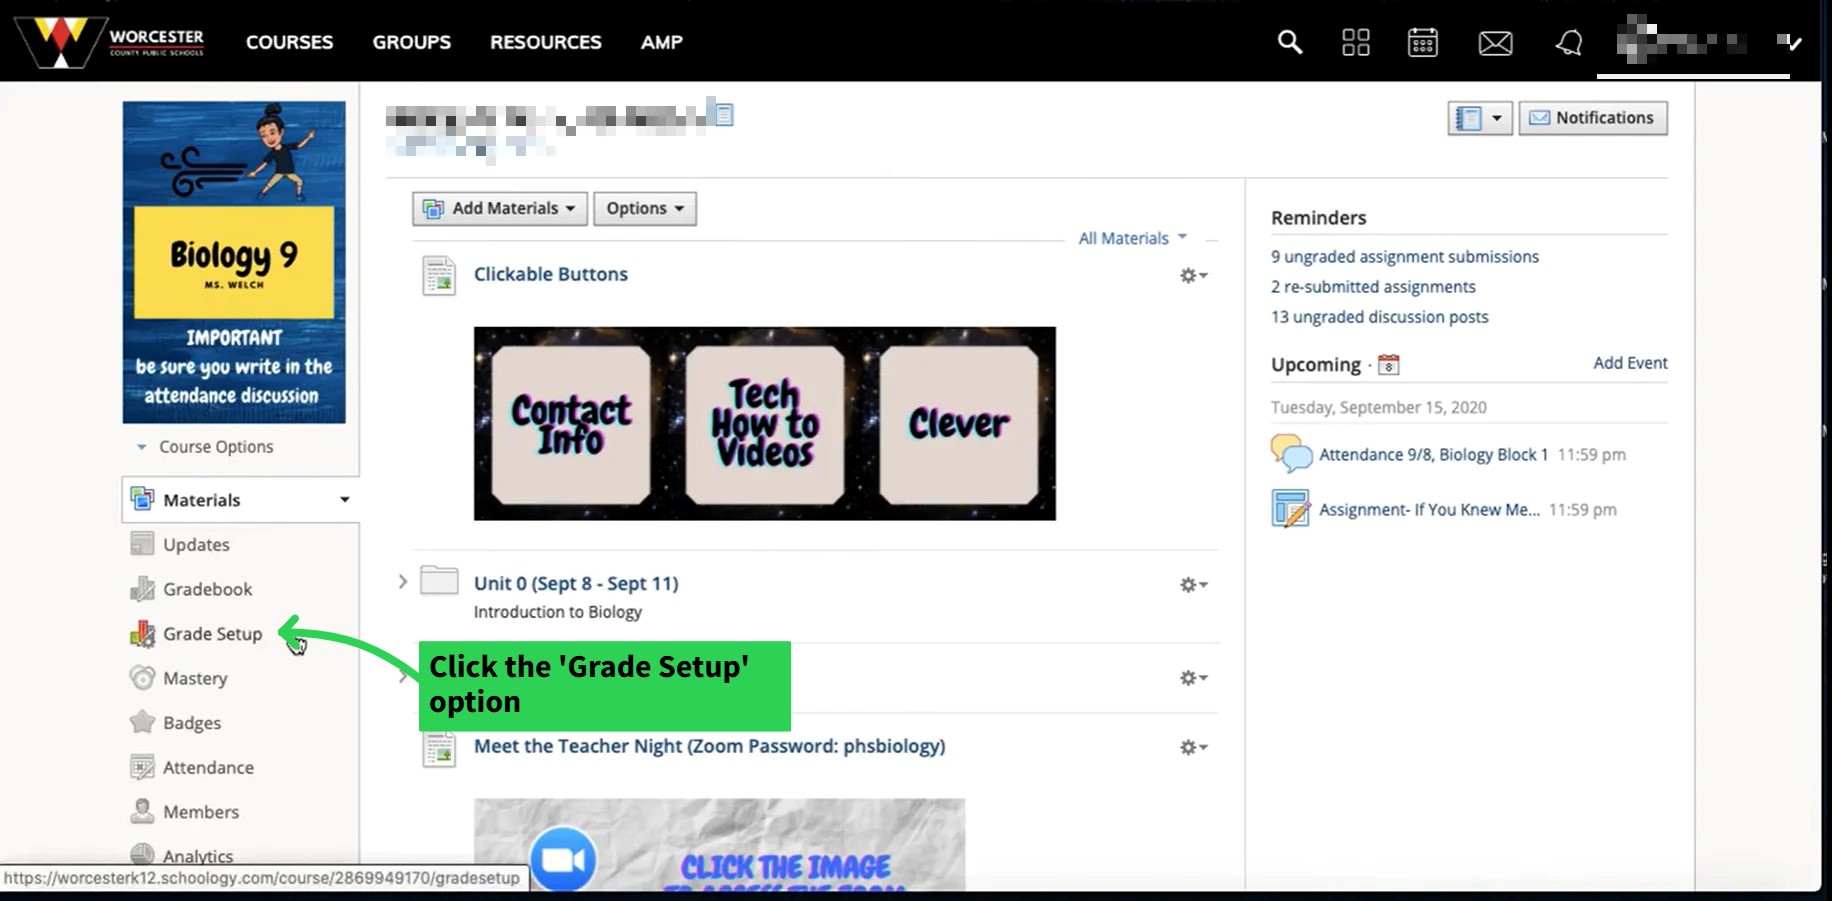
- Go to your Course in Schoology
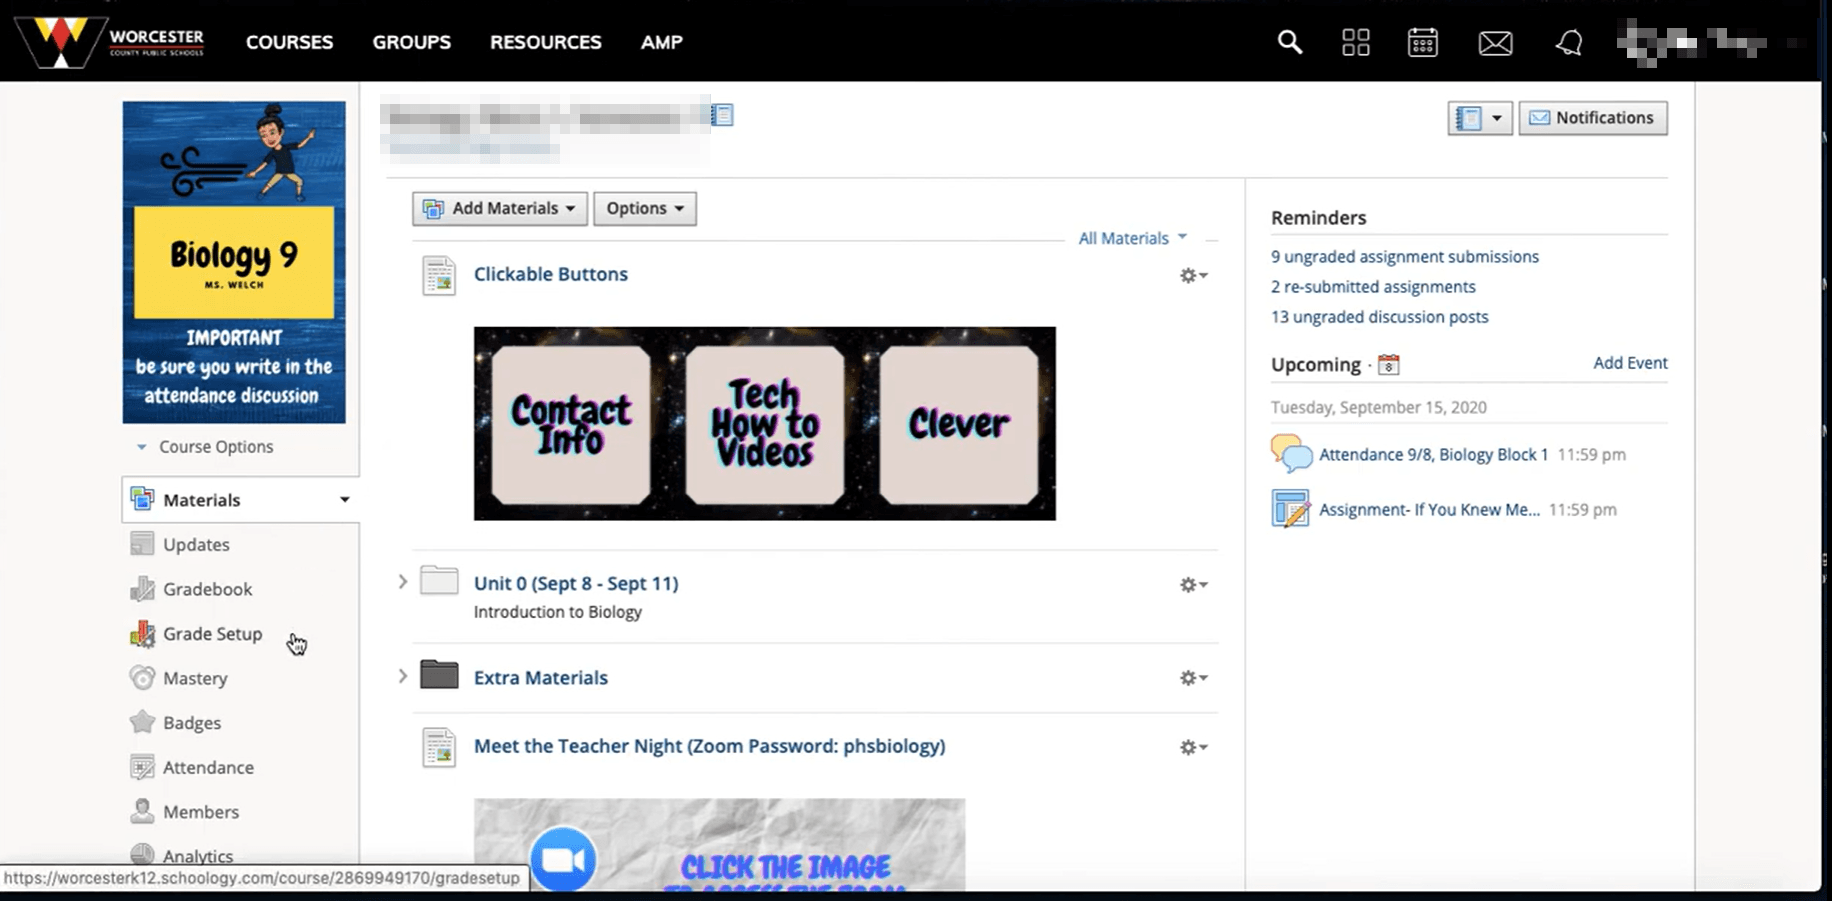
- Click the ‘Grade Setup’ option in the sidebar
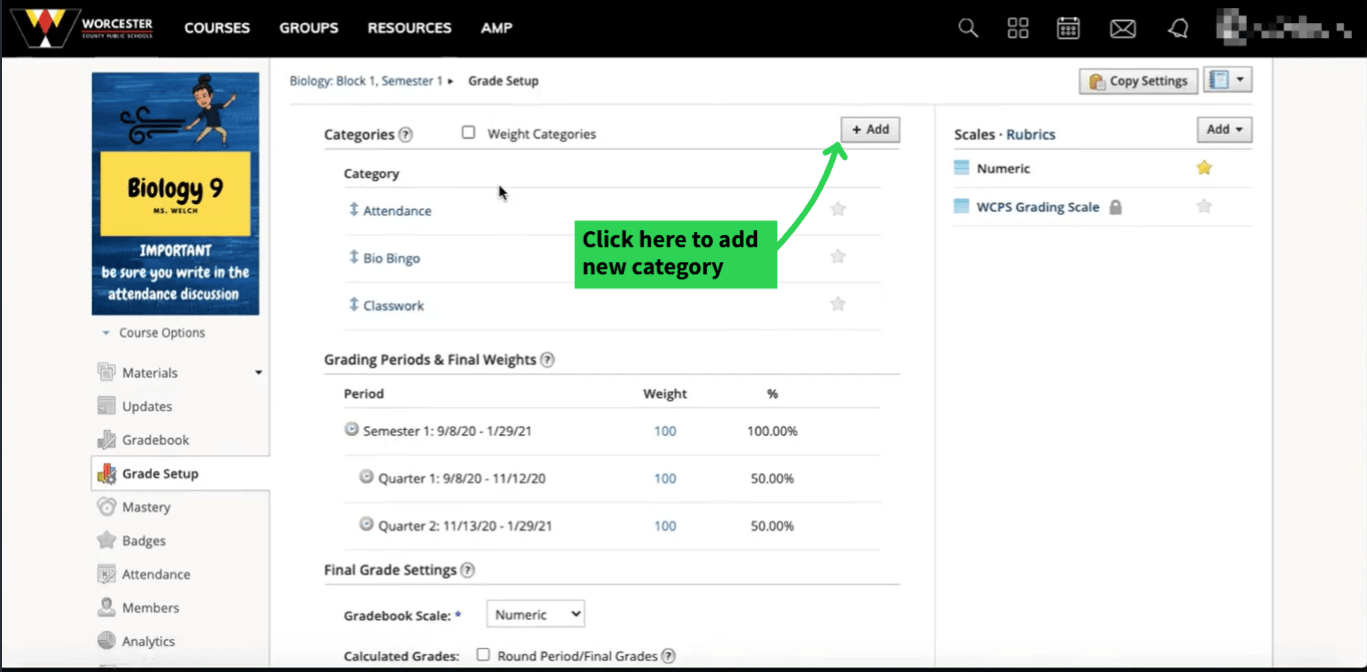
- Review existing categories and edit or add new ones as needed. The category should exactly match with PowerSchool categories

- Scroll down and click the ‘PowerSchool’ option from the sidebar

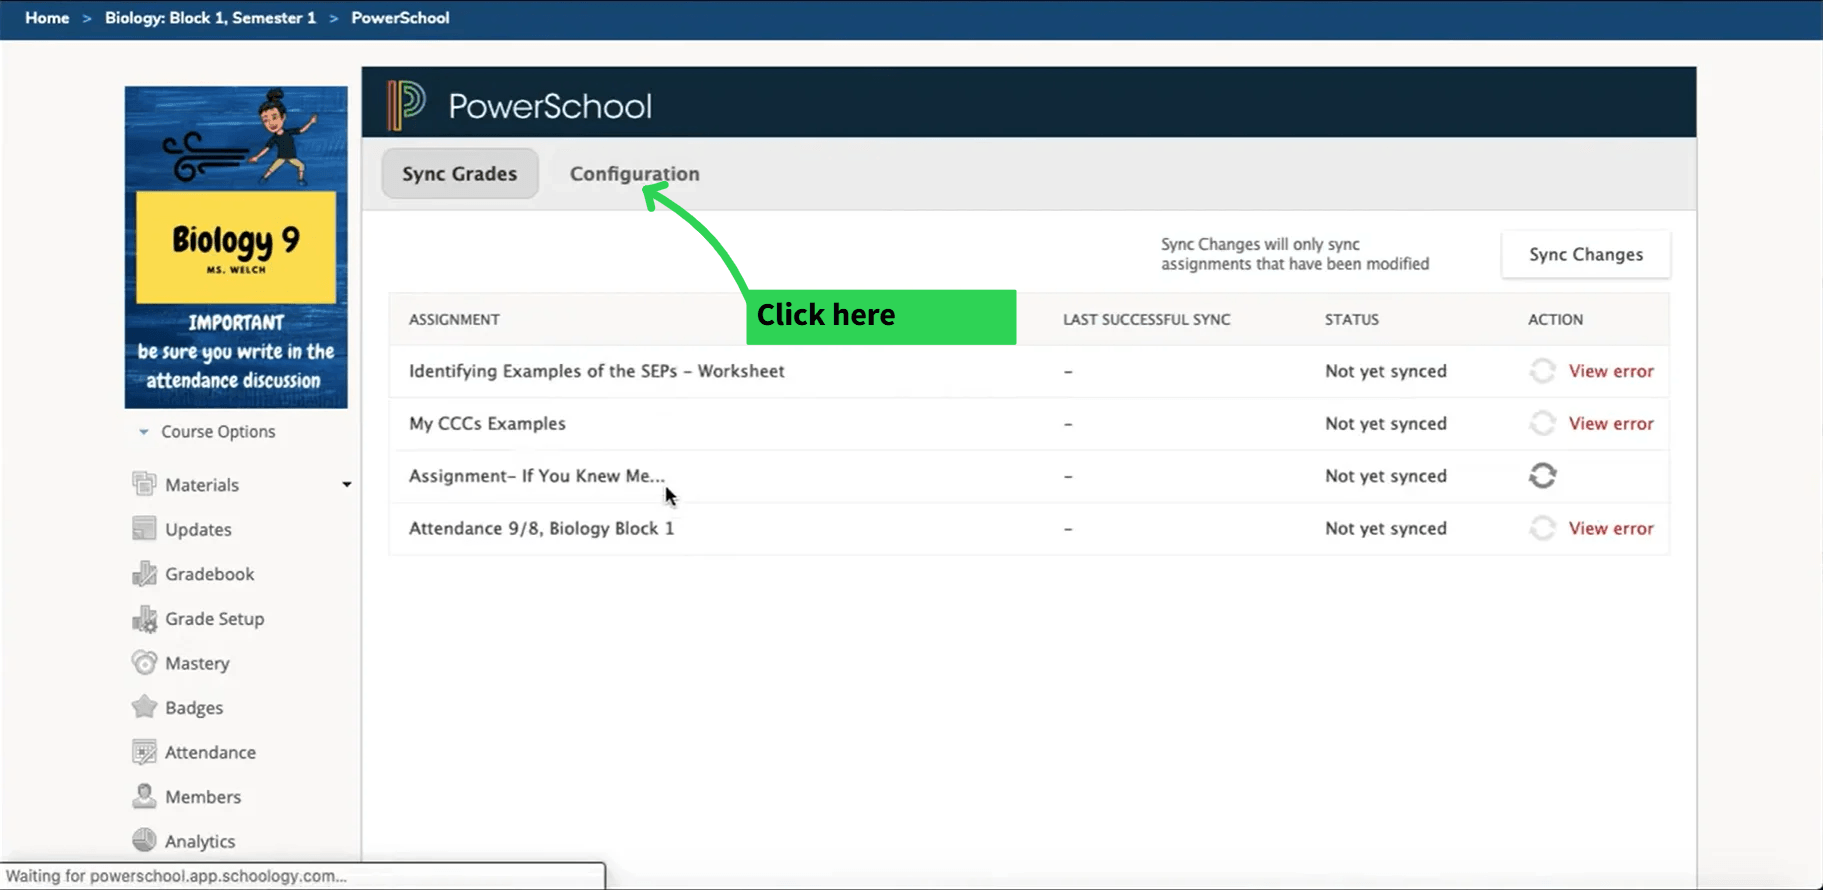
- Click the ‘Configuration’ option
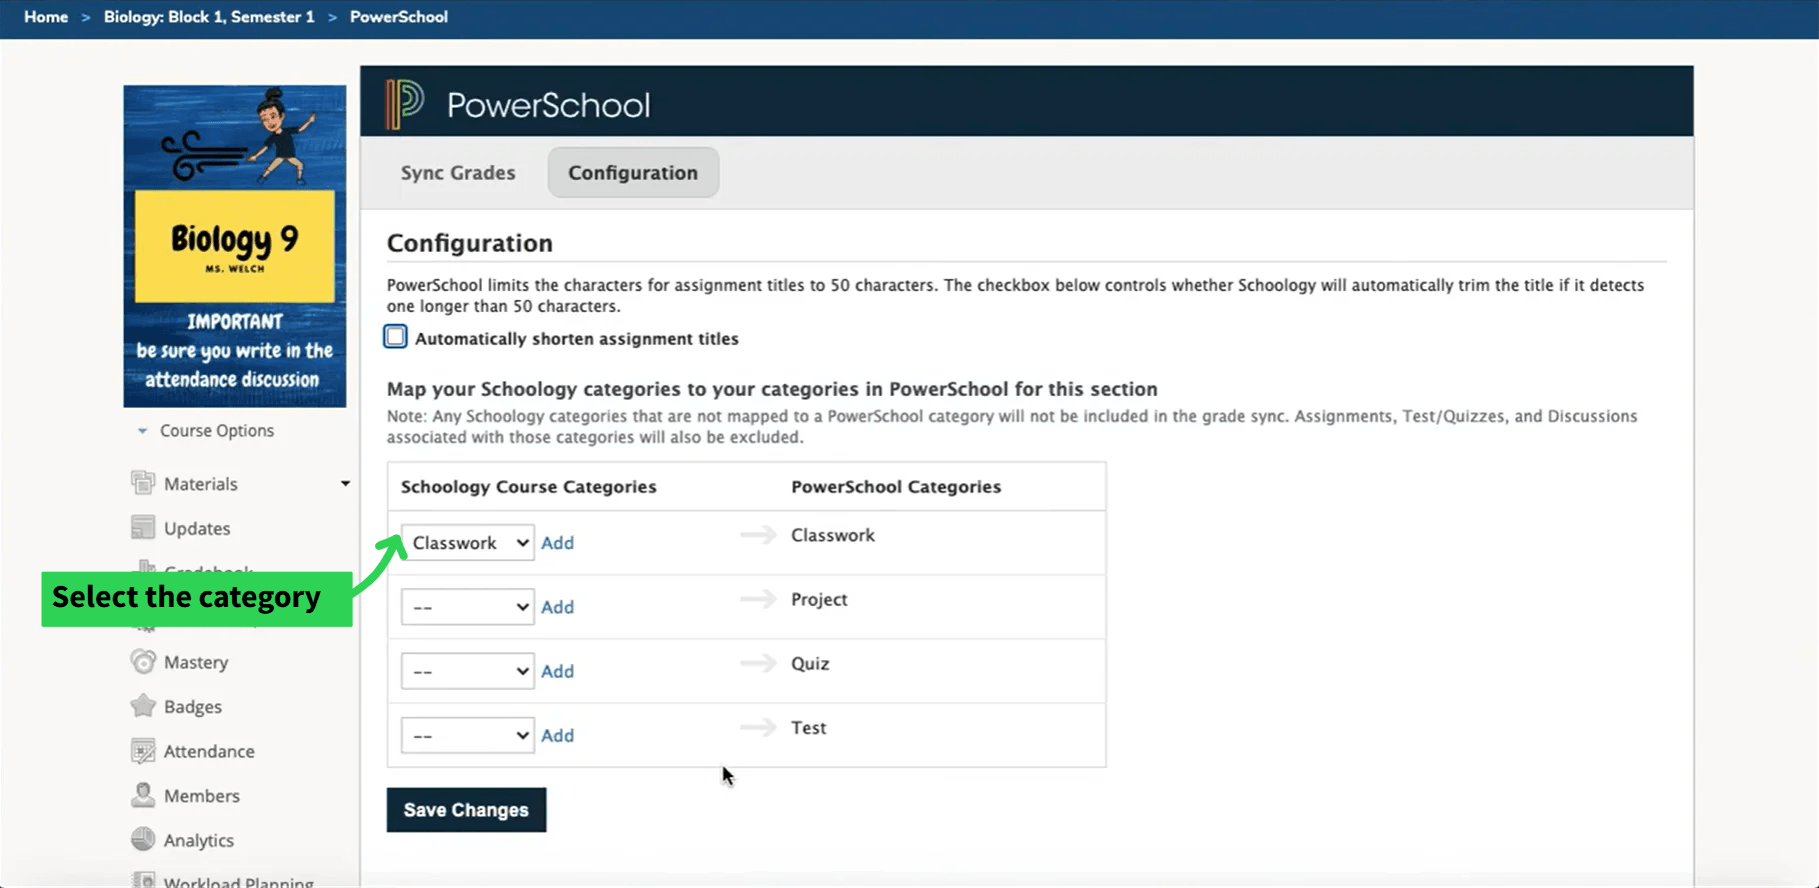
- Choose the Schoology categories that you want to sync with PowerSchool
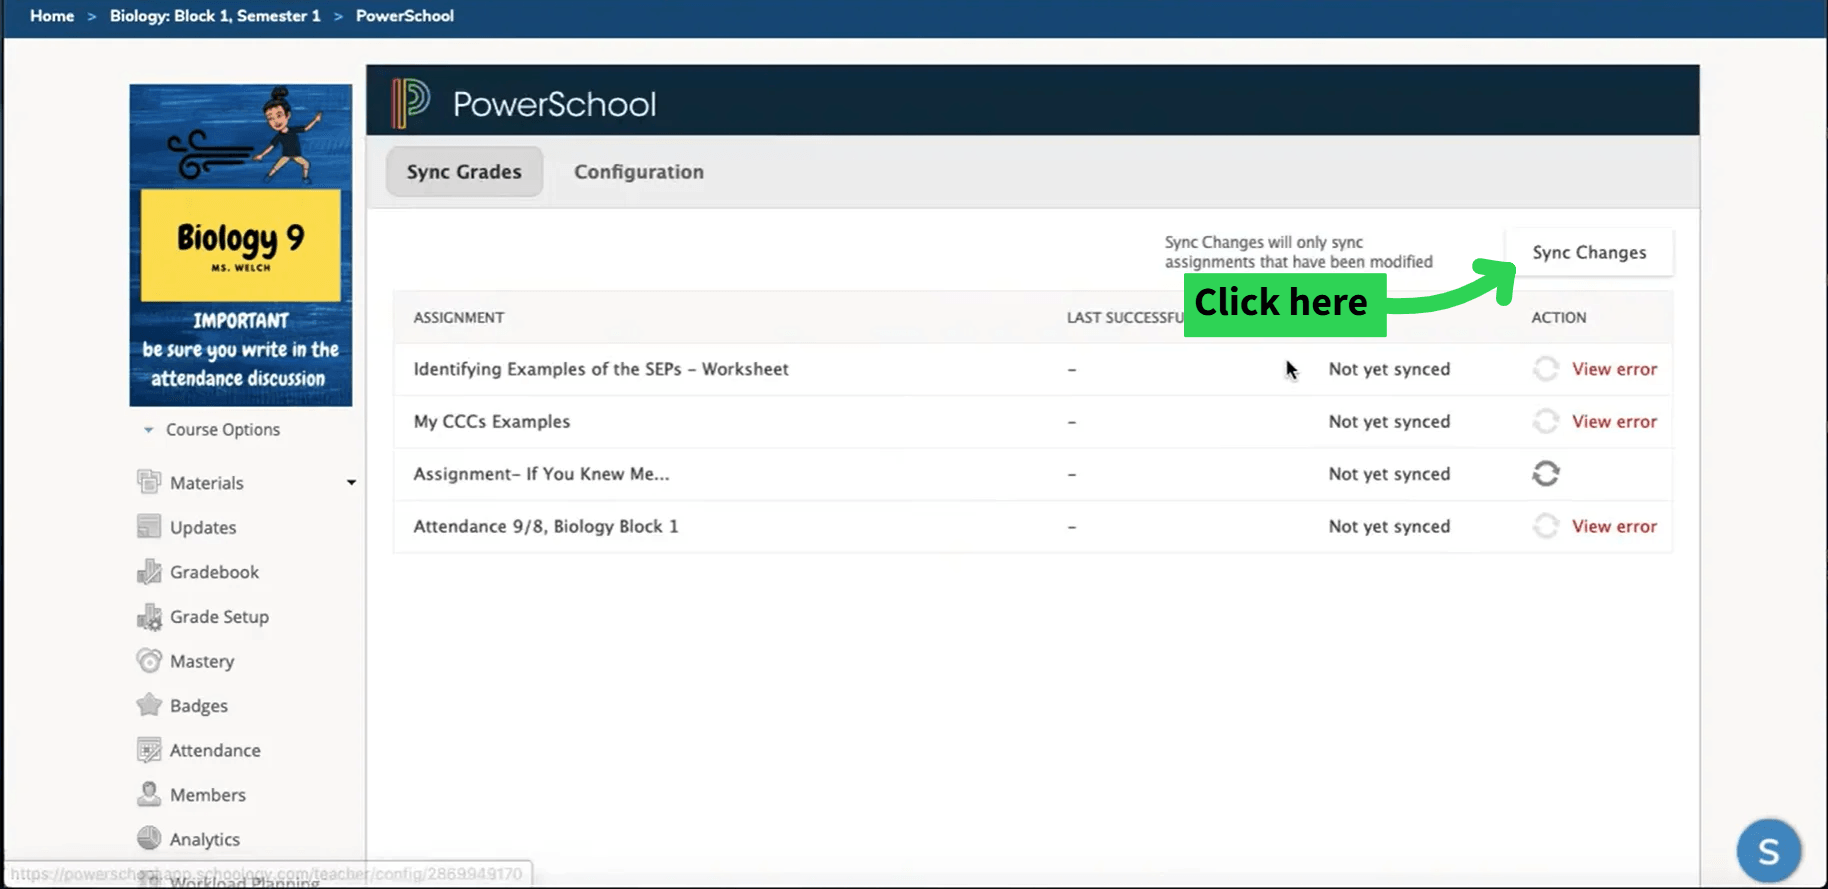
- Click the ‘Sync Grades’ option

- Finally, click the ‘Sync changes’ button to complete the process
Syncing Schoology with PowerSchool is a smart move for teachers. It saves time, improves accuracy, and keeps parents and students informed in real-time. By following the simple steps outlined above, schools can make their workflow more efficient and less stressful.