

With more employees working remotely, organizations are turning to solutions that enable precise time-tracking of remote employees. Having a reliable platform not only monitors employee working hours but also ensures accurate payroll processing in any organization. isolved is perfect for small-to-mid-sized businesses, enabling them to effectively collect and manage employee working hours.
This step-by-step guide explains how to clock in on isolved in three different ways. Let’s get started!
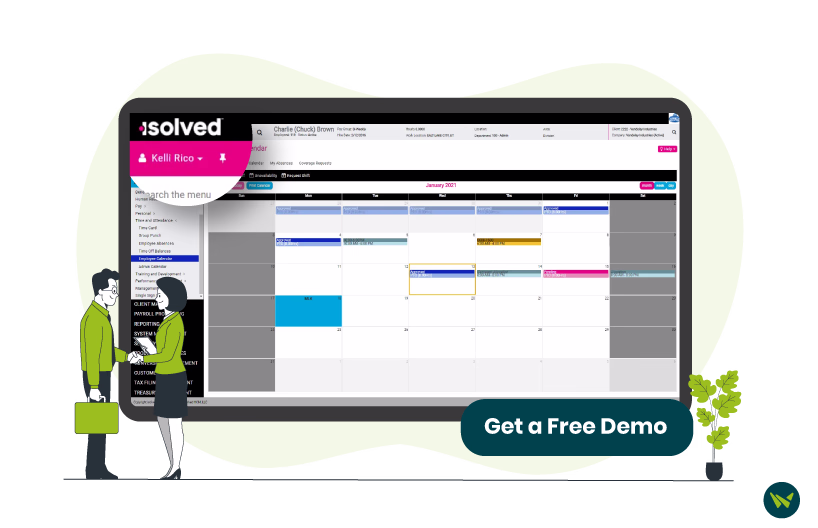
isolved's clock-in feature allows employees to log their working hours in real-time using their web browser or mobile app. This ensures precise time management, leading to payroll accuracy. The platform also offers physical time clocks, NXG-G7 and Velocity, allowing organizations to track employee working hours in an office environment.
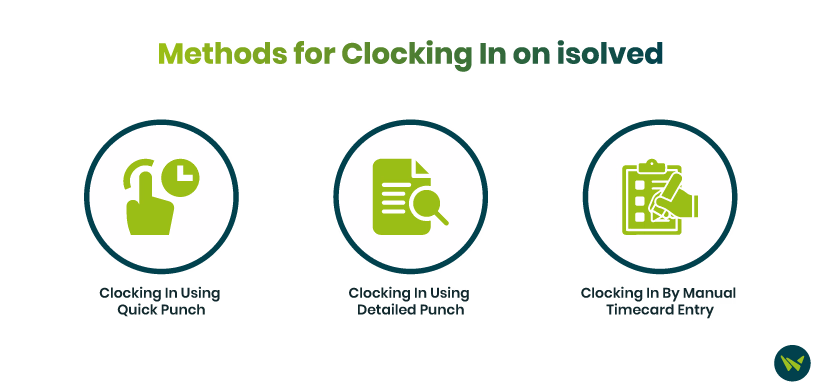
The platform supports various methods for recording work hours, including quick punch, detailed punch, and manual timecard entries. The steps for clocking in for each method are outlined below:
The quick punch offers a simple way to replicate a traditional time clock by automatically timestamping your entry. Here are the steps for doing that on your web browser and mobile app:
The detailed punch feature allows you to choose the type of punch, such as Normal, Meal, or Break. Here are the steps for doing that on your web browser or mobile app:
This is used when an organization doesn’t require clocking in and clocking out of employees on a daily basis. It allows employees to create timecards and set the time and date. Here are the steps for doing that on your web browser or mobile:
Employees can seamlessly log in to their computer-based program and log their time by following these simple steps. They can also use mobile applications or isolved physical machines to clock in and out. This allows the organization to ensure accurate employee timekeeping, leading to a more streamlined payroll process.