
A recent survey revealed that approximately 53% of medical practitioners of medical practitioners' face challenges when trying to connect their EHR with other digital systems—often leading to delays, duplicated efforts, and incomplete patient records. These gaps in healthcare system interoperability are more than just technical hiccups; they directly affect patient care.
That’s why many practices using DrChrono EHR are now exploring third-party software integration to connect it with labs, billing solutions, imaging tools, and pharmacy systems. By improving EHR connectivity, practices can ensure everything works in sync—reducing manual work and minimizing the risk of missed information.
This blog will walk you through a step-by-step approach for DrChrono EHR integration, covering best practices for API integration with DrChrono, improving data exchange in healthcare, and syncing patient data across your practice management systems to streamline workflows and enhance care delivery.
DrChrono EHR supports system integration through two main methods:
- A variety of pre-built integrations with trusted partner applications
- Open API – It allows for custom connections
These options give healthcare providers the flexibility to connect labs, billing tools, imaging platforms, and more—ensuring smoother workflows and better data exchange.
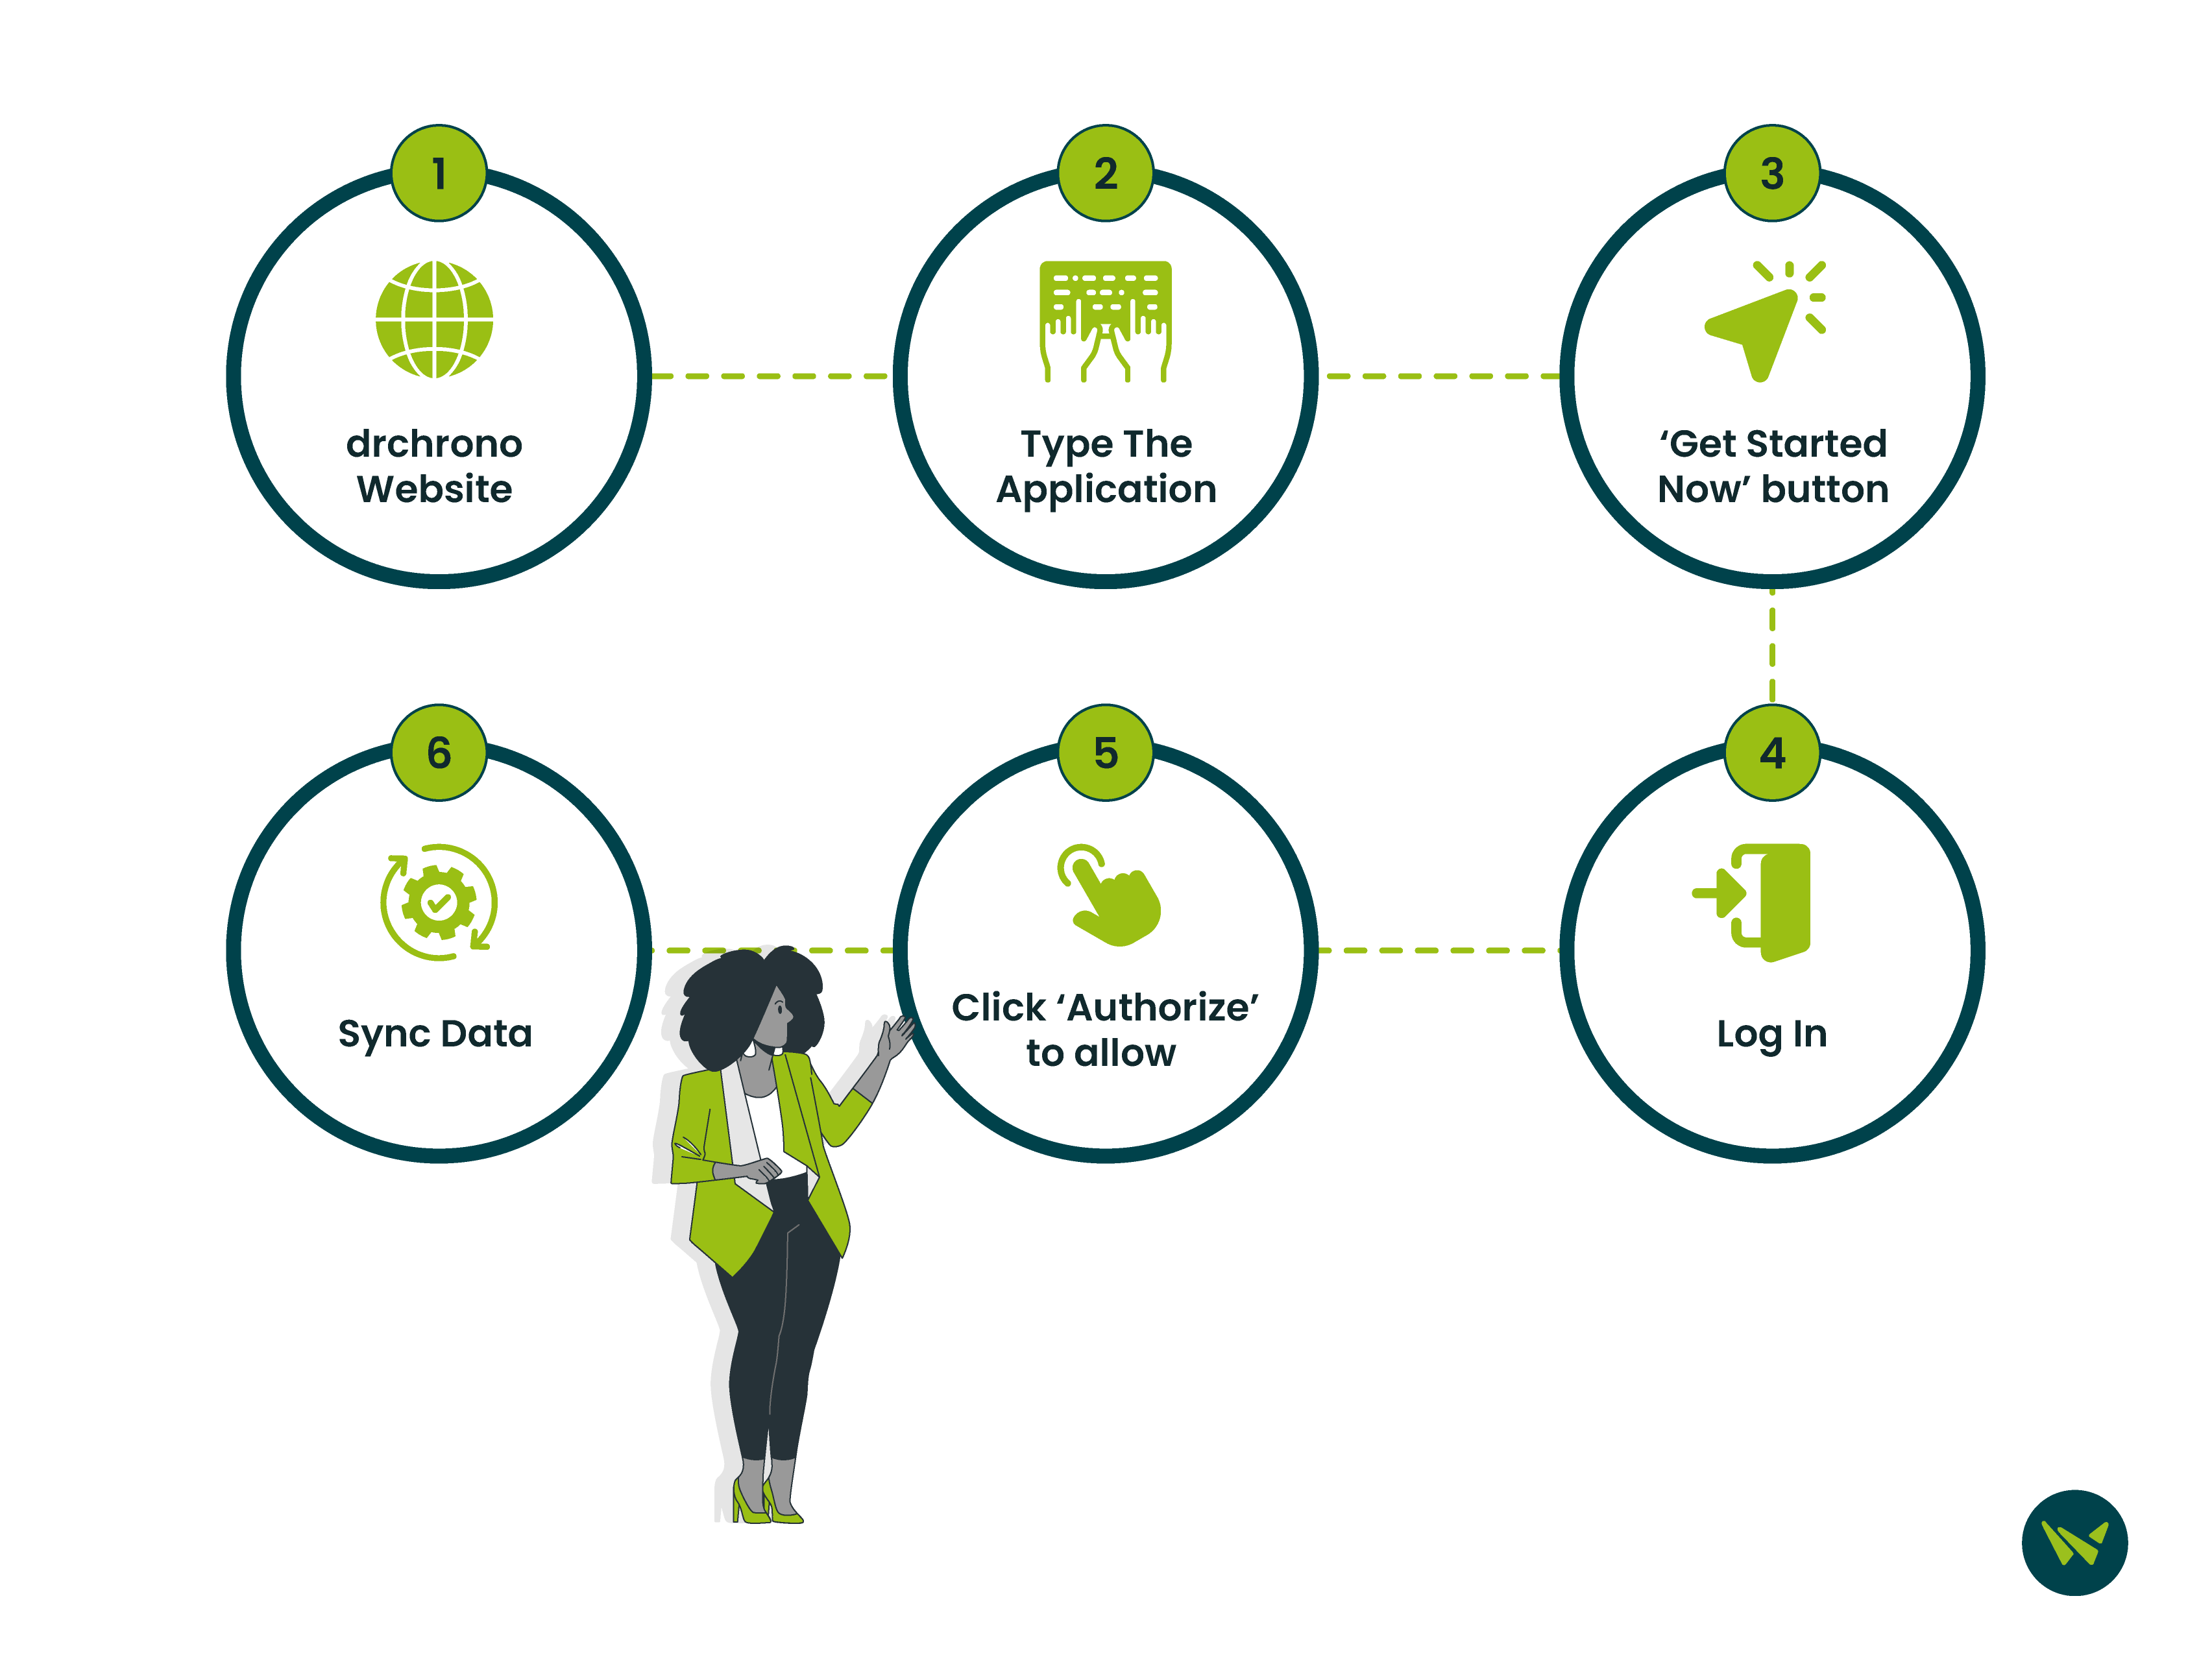
If you are planning to integrate a built-in tool with DrChrono EHR, here’s how you can do it in a few easy steps:
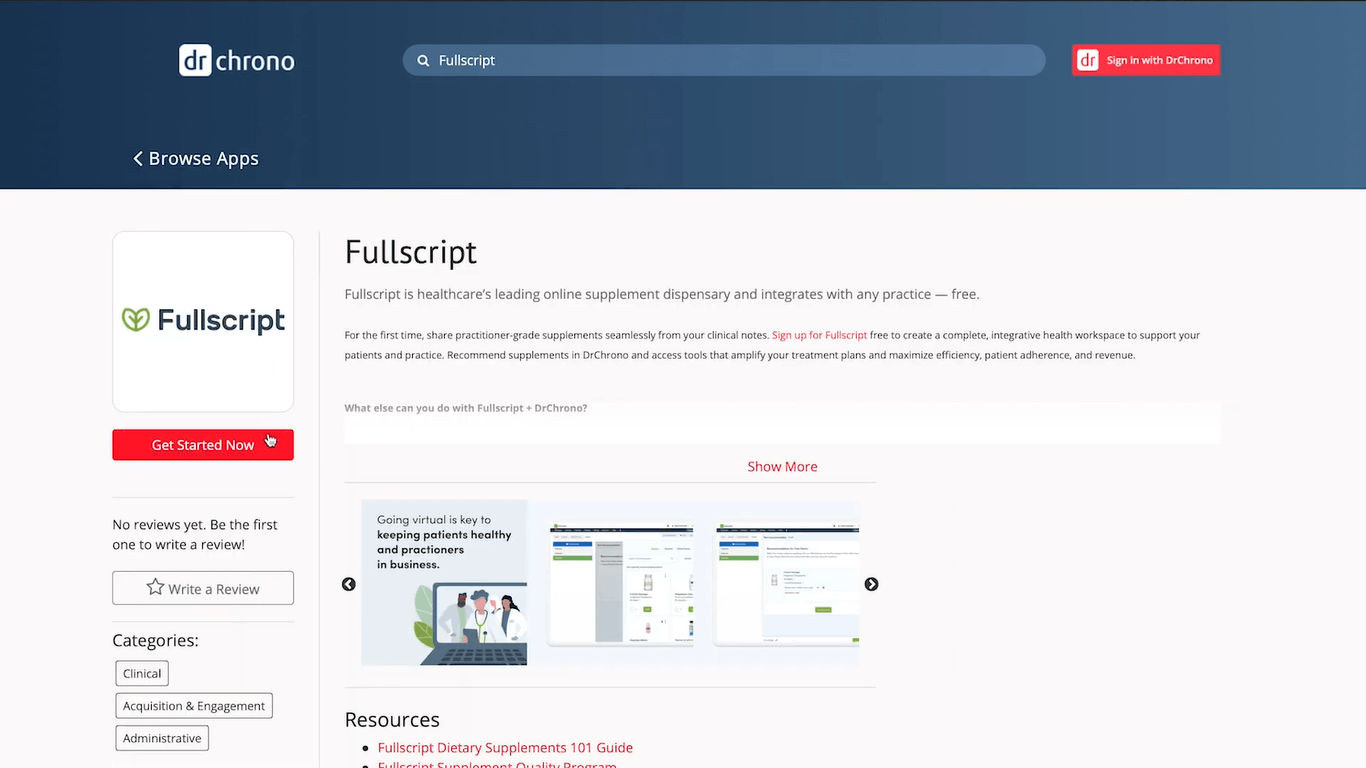
- Step 1: Head over to DrChrono’s official Marketplace

- Step 2: Type the application name you want to connect with, using the search bar to look for the application you want to connect—’Fullscript’, in this example
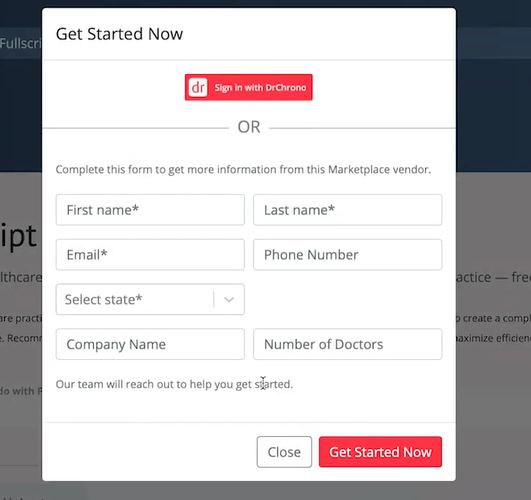
- Step 3: Once located, click on the ‘Get Started Now’ button
- Step 4: Log in to either your DrChrono or Fullscript account
Note: If you don’t already have an account, you’ll see an option to sign up before proceeding.
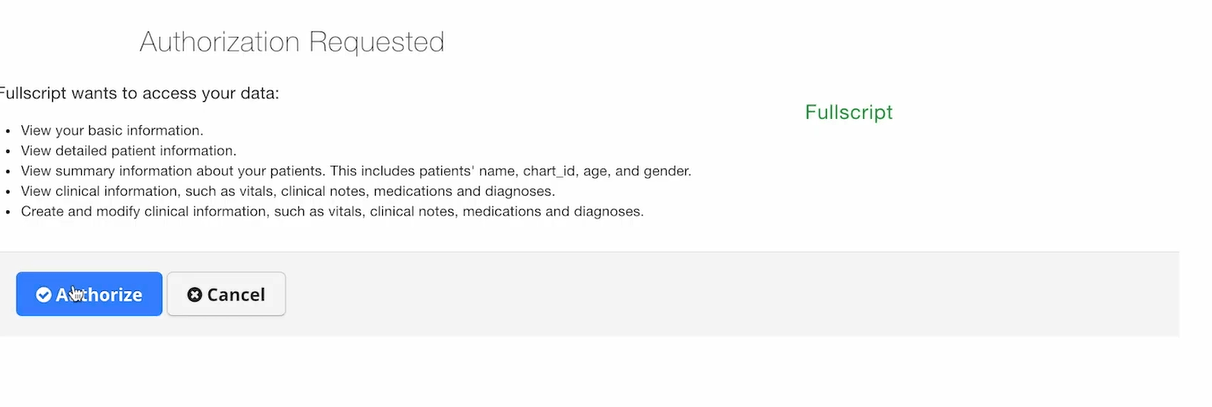
- Step 5: You’ll be prompted to authorize access. Click ‘Authorize’ to allow Fullscript to connect with your DrChrono account
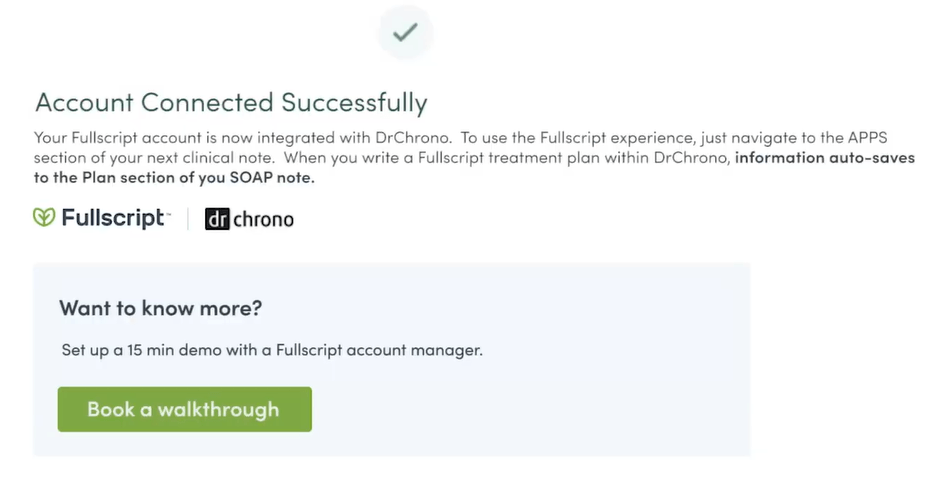
- Step 6: Congratulations! The integration is now complete. You can begin syncing data and using both platforms seamlessly
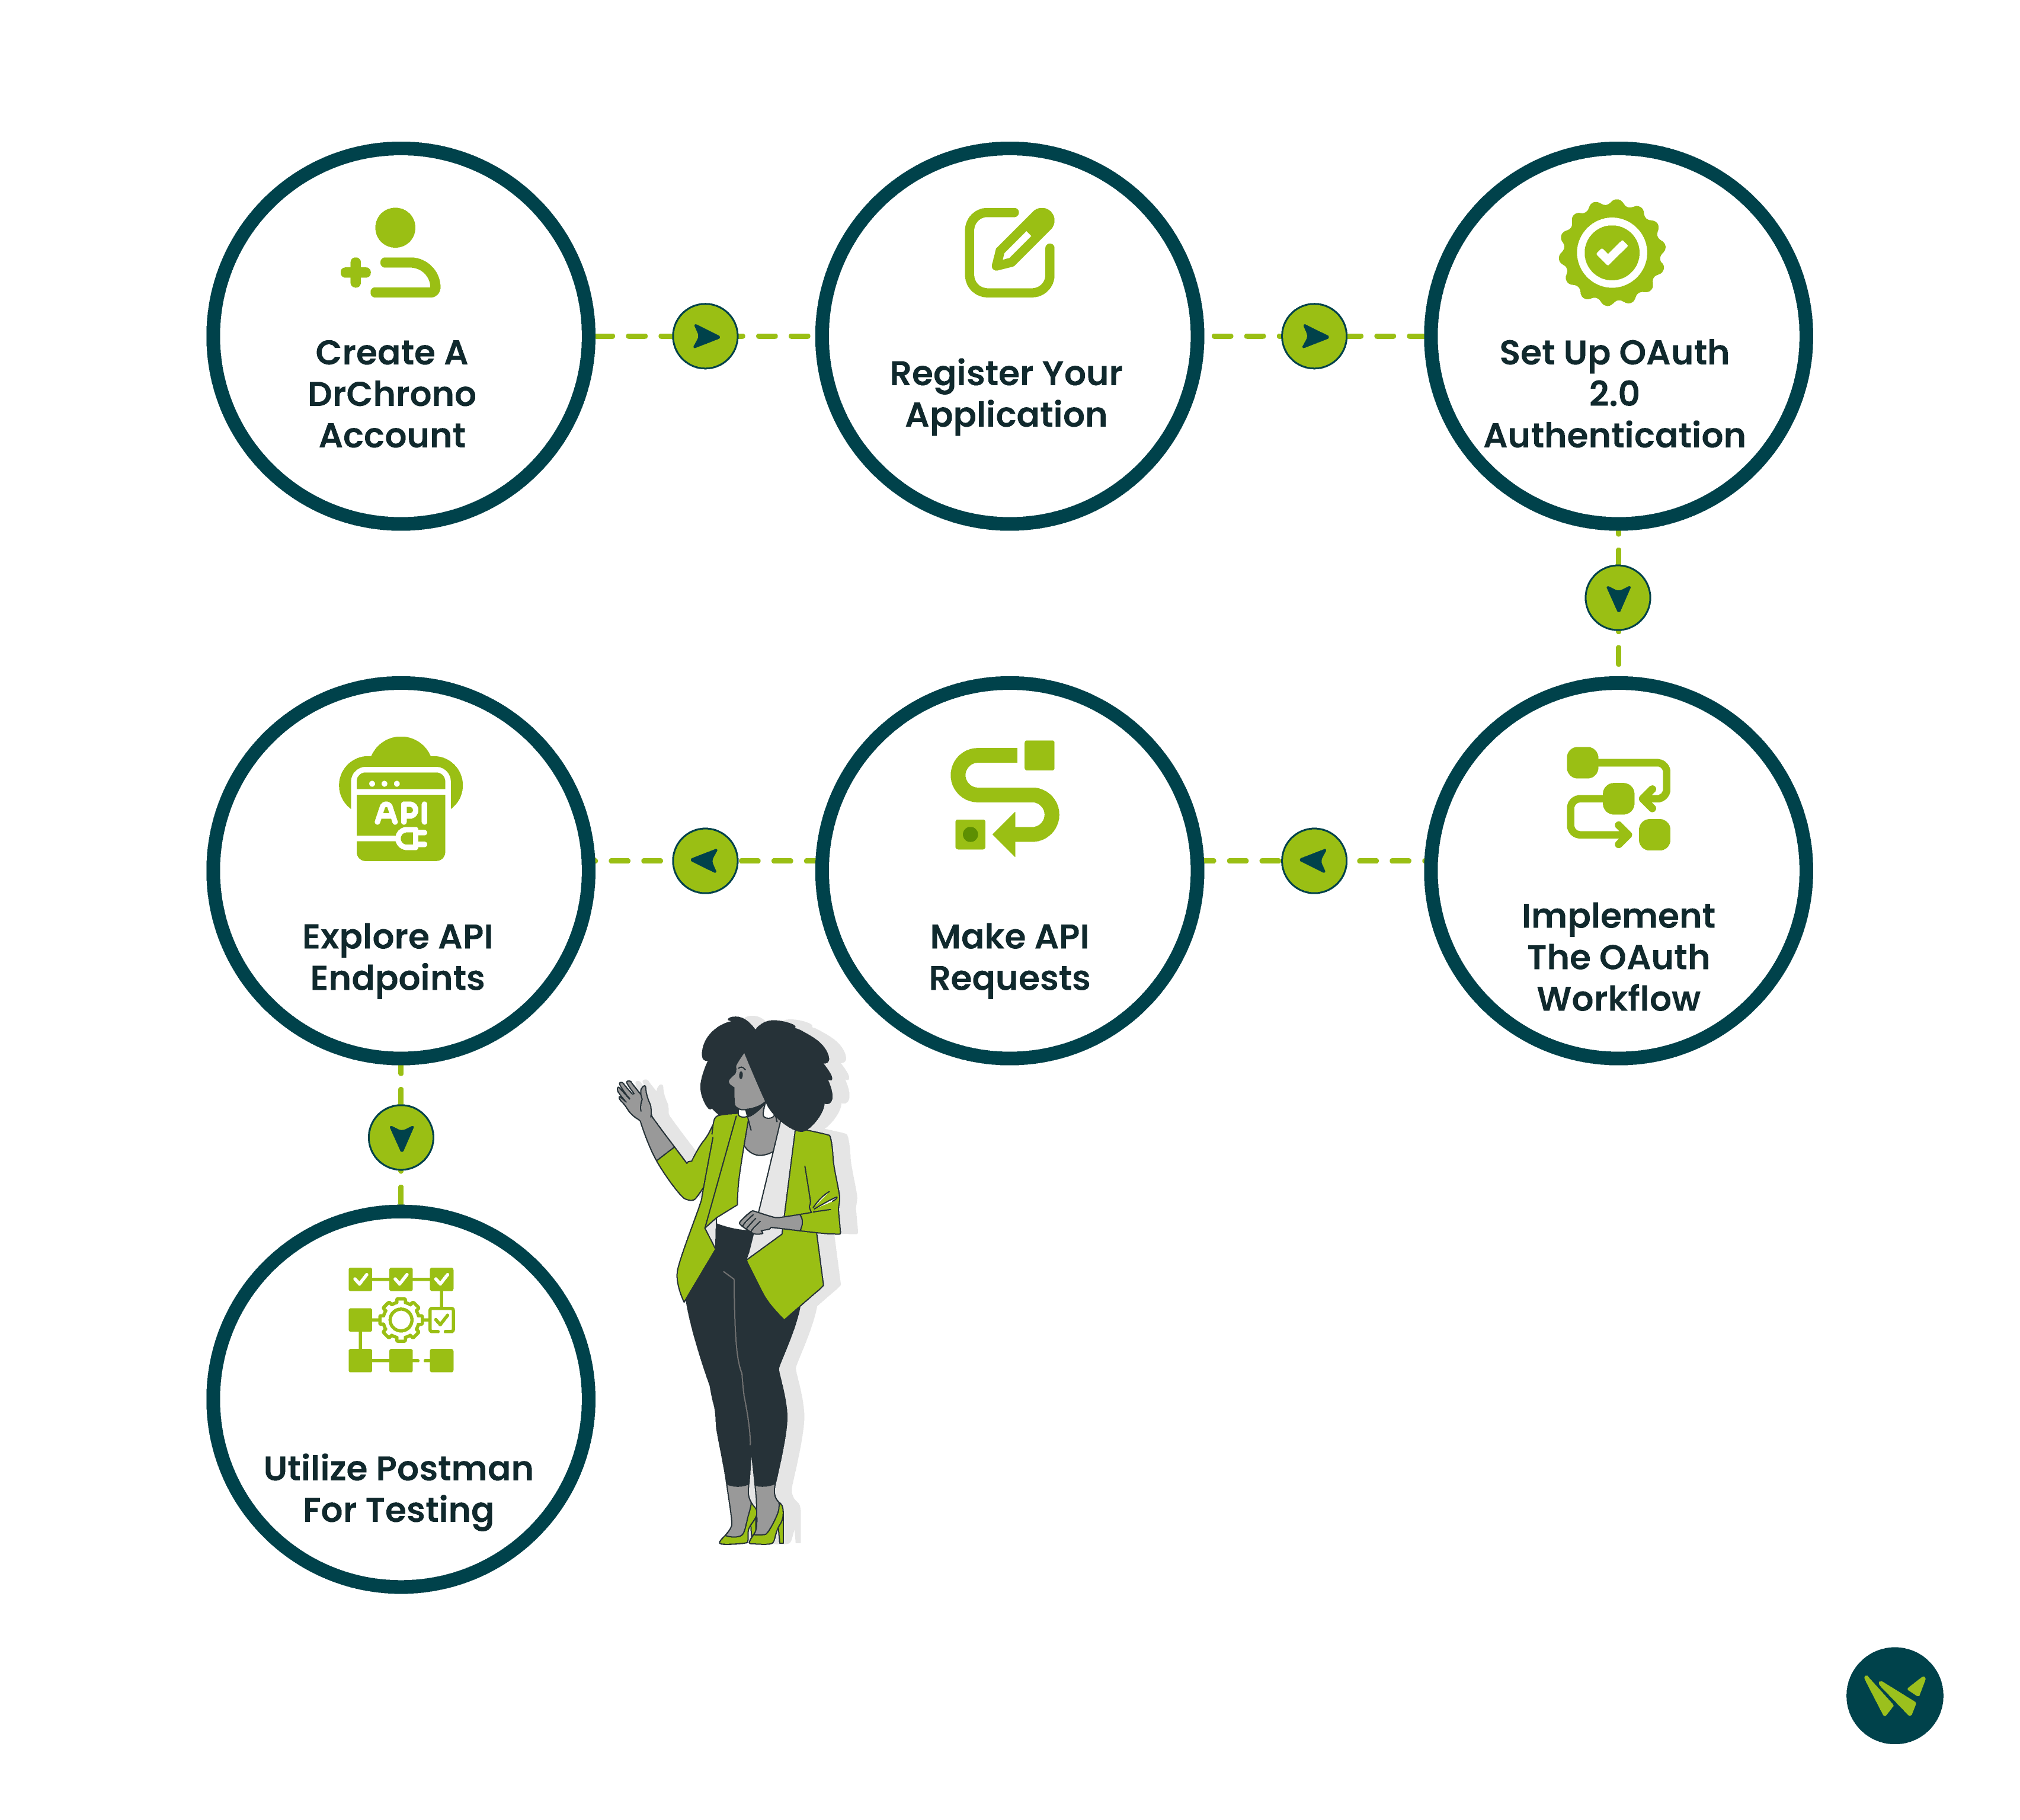
To integrate DrChrono with other systems via its API, follow these steps:
Step 1: Create A DrChrono Account
- Begin by signing up for a free DrChrono account to access the API and test your application
Step 2: Register Your Application
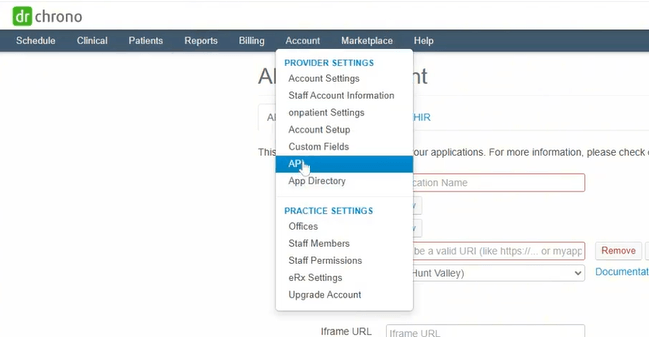
- Navigate to the API Management Page (also accessible under ‘Account’ > ‘API’) and click on ‘New Application.’
- Provide a name for your application in the ‘Name’ field
- Enter one or more redirect URIs in the ‘Redirect URLs’ field
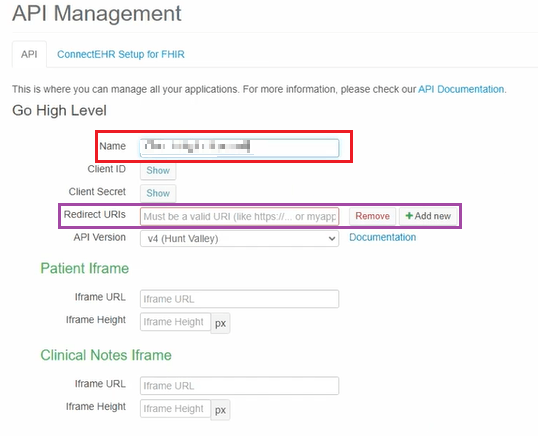
Note: These URIs are endpoints in your application where users will be redirected after authentication.
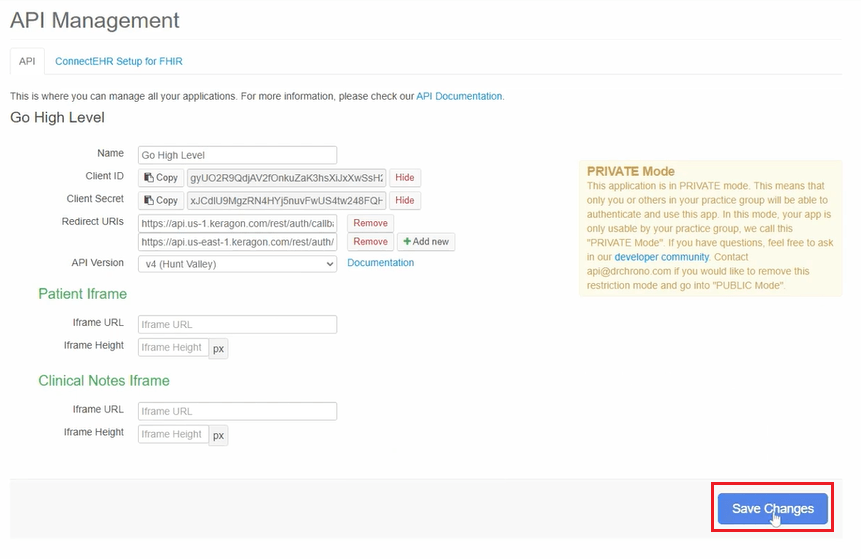
- After filling in the details, click ‘Save Changes’
 Step 3: Set Up OAuth 2.0 Authentication
- DrChrono's API uses OAuth 2.0 for secure authentication.
- Authorization URL: https://drchrono.com/o/authorize/
- Token URL: https://drchrono.com/o/token/
Note: You can use an OAuth 2.0 library suitable for your programming language to handle the authentication flow.
Step 4: Implement The OAuth Workflow
- Construct a URL to redirect users to DrChrono’s authorization page
- Handle the ‘Redirect’ and ‘Obtain Authorization Code’ – After the user authorizes your application, DrChrono will redirect them to your specified ‘Redirect URL' with a code parameter appended
- Use the authorization code to request an access token
- Store the ‘Access Token’ and ‘Refresh Token’ securely for future API requests
Note: Remember the following:
- REDIRECT_URI: Your application's redirect URI
- CLIENT_ID: Your application's client ID
- SCOPES: A space-separated list of scopes defining the access your application is requesting
Step 5: Make API Requests
- With the ‘Access Token’, you can now make authenticated requests to DrChrono's API
Step 6: Explore API Endpoints
DrChrono's API offers various endpoints to interact with different resources:
- Patients: Create, read, update, and delete patient records
- Appointments: Manage scheduling and appointment details
- Clinical Notes: Access and modify clinical documentation
- Labs: Submit and retrieve lab orders and results
Step 7: Utilize Postman For Testing
- DrChrono provides a ‘Postman Collection’ to facilitate API testing
By following these steps, you can successfully integrate DrChrono with other systems using its API. Ensure to handle authentication securely and adhere to best practices when interacting with the API.
Integrating DrChrono EHR with other systems doesn’t have to be complicated. Whether you choose ready-made solutions from the ‘DrChrono Marketplace’ or build custom connections using its open API, both paths offer reliable ways to streamline your workflows and centralize patient data. By taking the right integration steps, you can reduce manual tasks, improve accuracy, and ensure your healthcare operations run smoothly across platforms.
Start with what fits your needs today and scale your integrations as your practice grows. With the right setup, DrChrono can become the central hub of your digital healthcare ecosystem—simplifying operations and enhancing care delivery.