Schoology’s learning management system (LMS) makes learning more connected and collaborative with a wide range of built-in tools. One standout is the "Groups" feature, which brings students and educators together to share ideas, manage projects, and build a stronger learning community.
Are you curious to know about how Groups can enhance your Schoology experience? Let’s break down what they offer and how you can set one up.
Groups in Schoology are designated and collaborative spaces for students, teachers, and other members. They allow users to share resources, post updates, hold discussions, and work together beyond the confines of their specific courses. The groups can be used for various purposes and assist in different aspects of school life.
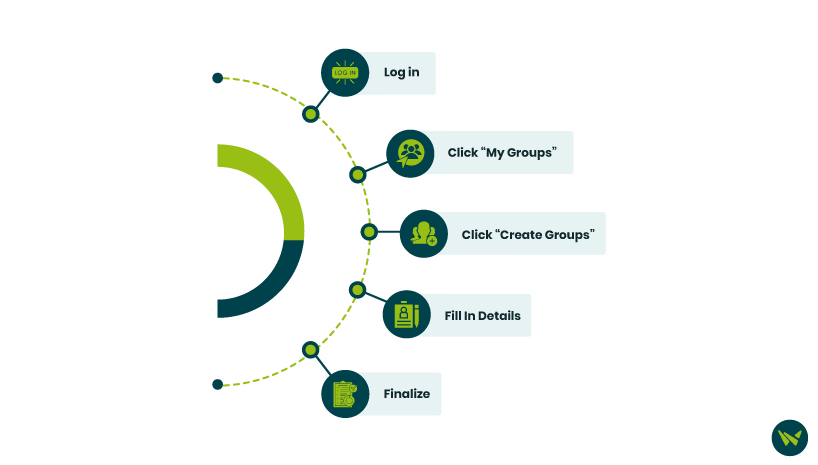
Let’s start with a step-by-step guide on how we can create a group in Schoology. You can follow these five steps using your Schoology LMS interface and create your group in no time:

Step 1: Log in to your Schoology account and click on the ‘Groups’ tab at the top of the page
Step 2: Select ‘My Groups’ from the dropdown menu
Step 3: Click on the ‘Create Group’ button located on the right side of the page
Step 4: Fill in the following group details:
- Name: Enter a name for your group
- Description: Provide a brief description (optional)
- Privacy Settings: Choose who can view the group
- Access Settings: Choose who can join the group
- Category: Select a category
Step 5: After filling in the necessary information, click ‘Create’ to finalize the group setup
Your group is ready to be customized, managed, and shared with members!
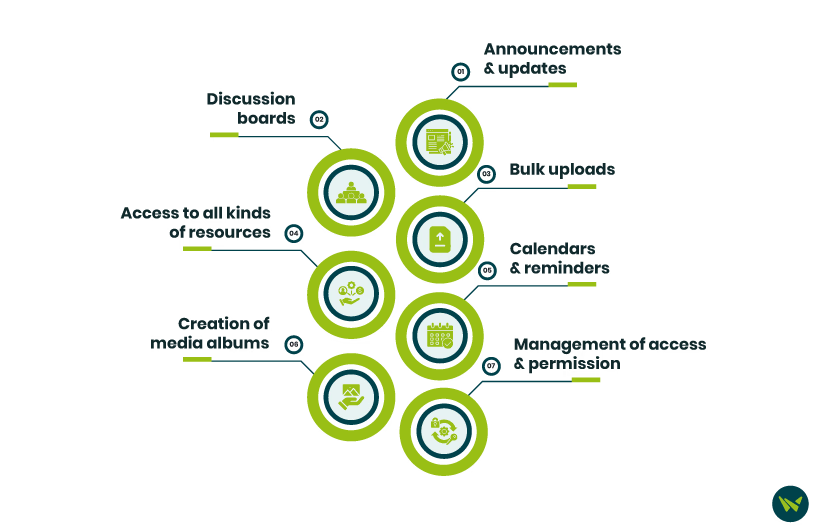
Schoology groups offer a range of features that ultimately lead to improved workflows and increased productivity. The in-built features include:

- Announcements and updates
- Discussion boards
- Bulk uploads
- Access to all kinds of resources (videos, images, documents, etc.)
- Calendars and reminders
- Creation of media albums
- Easy management of access and permissions
With a few simple steps, you can create a Schoology group and start building stronger collaboration and workflows. Each group can be tailored to specific projects, activities, or collaboration needs.

