Managing payables and receivables efficiently is crucial for any financial business. Integrating BILL (formerly known as Bill.com) with QuickBooks Online automates the transfer of bills, payments, and vendor records between the two systems, saving time and minimizing manual errors.
This guide will take you through the steps to sync your Bill.com account with QuickBooks Online, ensuring you make the most of this powerful integration.
Below are the steps to sync bill.com with QuickBooks Online:
Connect To QuickBooks Online
To get started, sign in to your Bill.com account:
- In Bill.com, click the ‘Sync’ icon and select ‘Set Up’

- Click ‘Connect to QuickBooks’
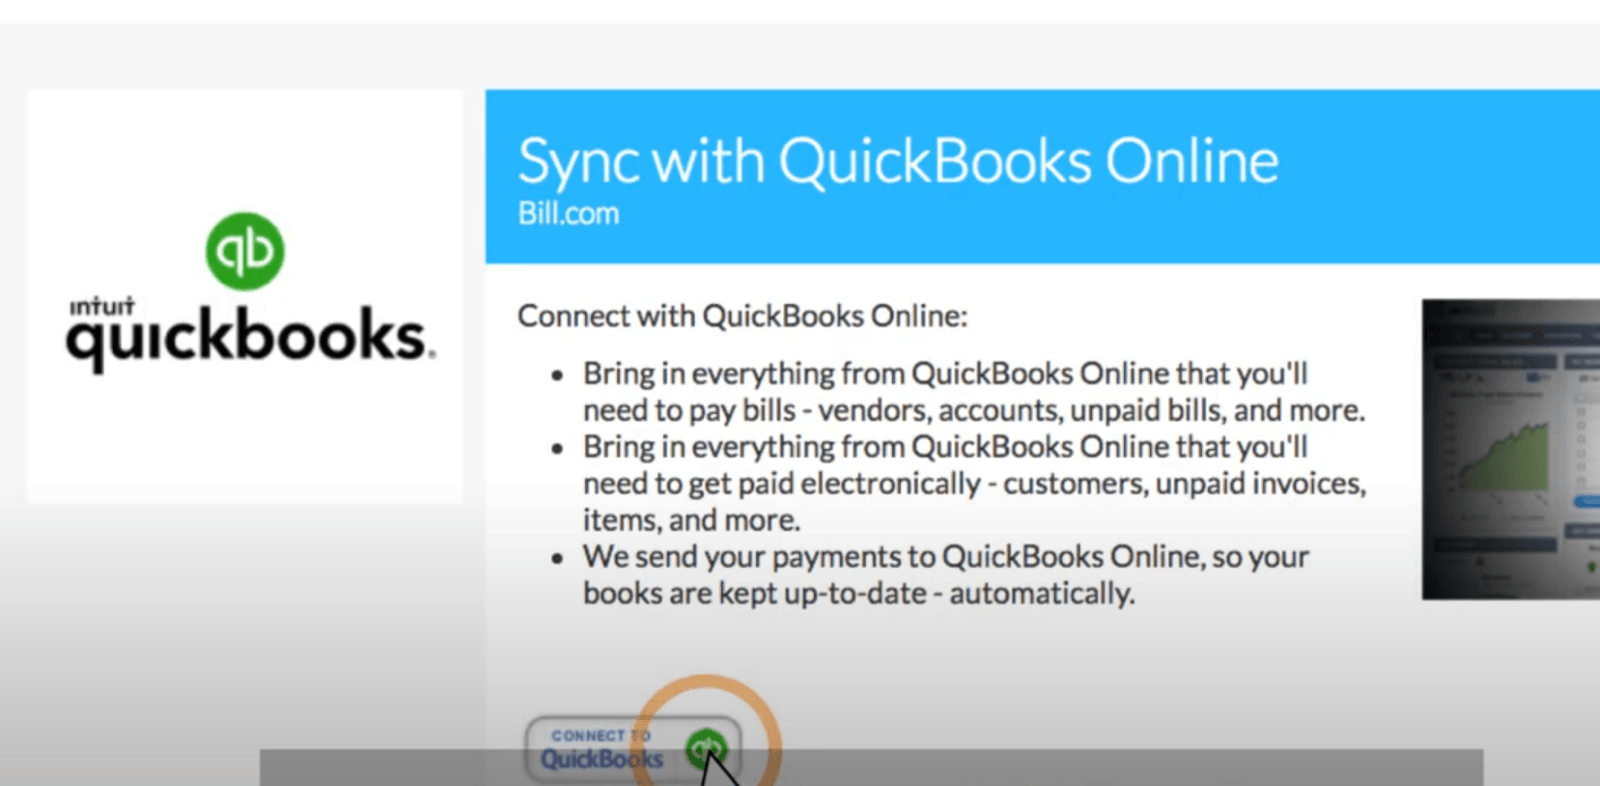
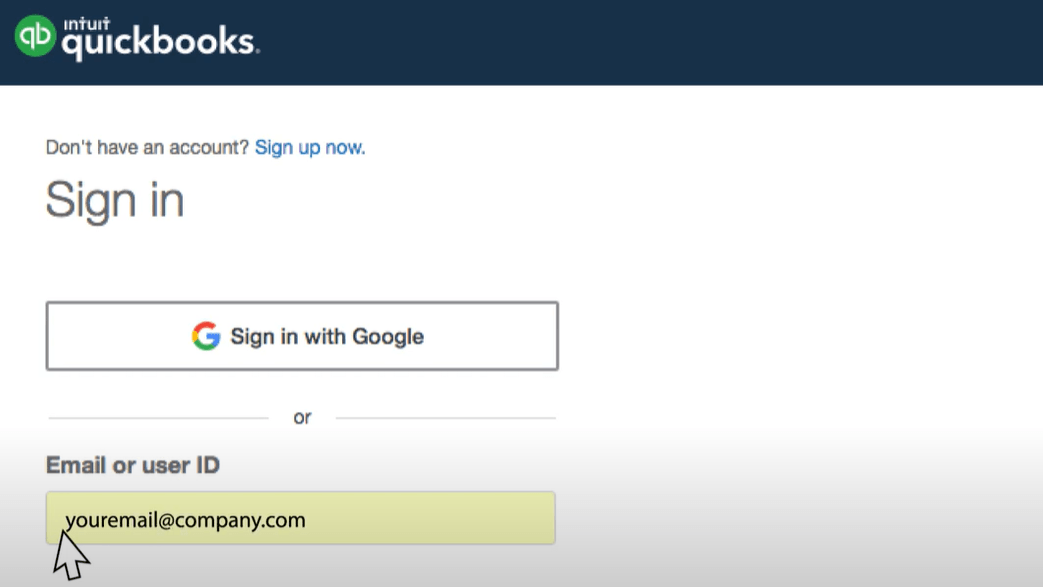
- A new window will appear, asking you to log in to your QuickBooks Online account
- Enter your QuickBooks Online login credentials
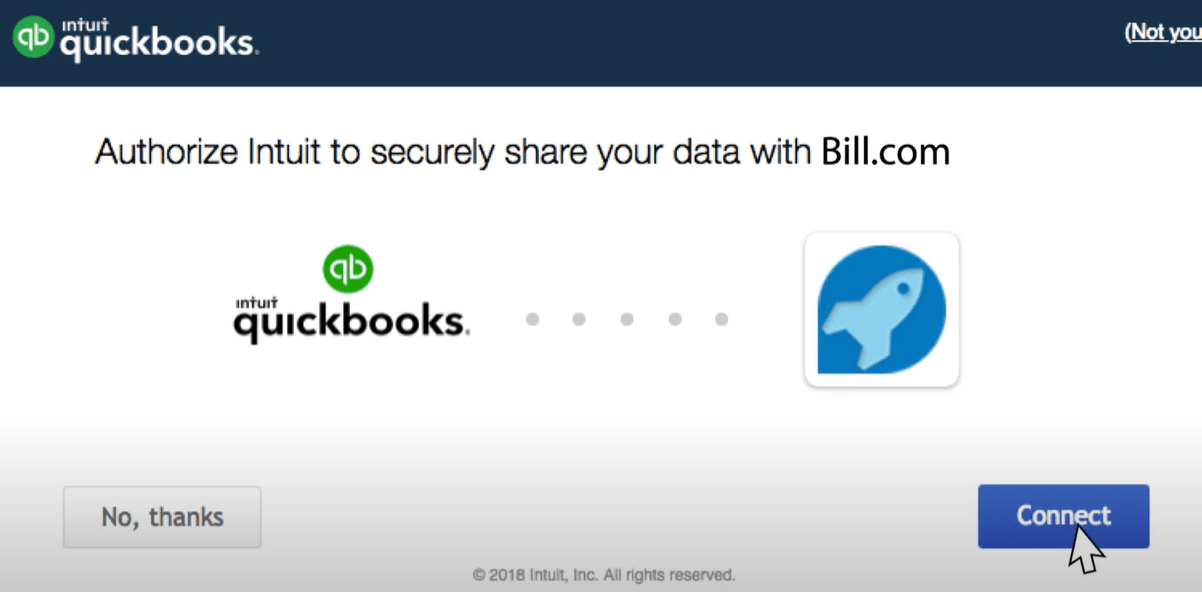
- Select the QuickBooks Online company you want to link to your BILL account and click ‘Connect’ to securely share your data with Bill.com
Choose Sync Preferences
After the initial sync is complete, set up your sync preferences. Some fields may already be pre-filled—be sure to review and confirm the correct accounts are selected:
Click ‘Save’ to apply your preferences
Integrating Bill.com with QuickBooks allows businesses to streamline their financial workflows and manage accounts receivable and payable more efficiently. Some of the key benefits include:
1. Financial Control
Empowers businesses to create workflows and routing rules that simplify approval processes from any device. Effortlessly manage and track domestic and international bills, with estimated delivery times and a comprehensive audit trail from sending to receiving.
2. Two-Way Data Sync
When Bill.com and QuickBooks Online are connected, transactions like bills, invoices, vendor credits, and payments automatically sync between both platforms. This ensures accounting records remain accurate without needing double entries.
3. Accounts Payable Automation
Bill.com automatically inputs invoice details for your review. Create workflows and rules to streamline and speed up approvals, even when you're on the go.
Document Storage And Audit Trails
Access any document, vendor record, or proof of payment with ease and view time-stamped audit trails for every transaction.
Integrating Bill.com with QuickBooks Online, an accounts payable software, can greatly streamline your financial processes, allowing for smoother management of bills, payments, and vendor information across both platforms.
By following the steps in this guide and customizing your sync preferences, you'll benefit from real-time data updates, improved reporting accuracy, and enhanced cash flow management—without the hassle of manual data entry.