Running a payroll in Gusto is a fairly simple process. It allows users to make detailed modifications that require in-depth knowledge of its features. In this guide, we will help you master the platform in simple and clear steps by covering the following:

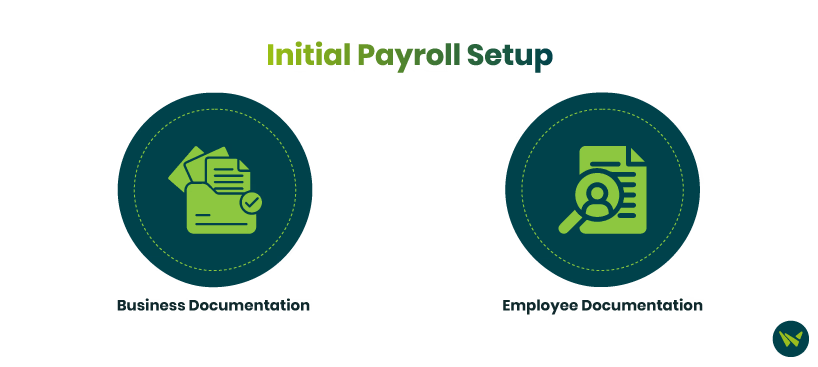
Before you run your first payroll, you’ll have to take care of these things for the initial setup. You can move to the next section if you have already covered all of this.
Business Documentation
An Employer Identification Number (EIN), also known as an Employer Tax ID, is required for reporting taxes and payroll details to the Internal Revenue Service (IRS). Business owners can easily apply for an EIN online here.
Depending on your state, you may also require a business ID. To check if it applies to your business, contact local officials or business regulatory authority for guidance.
Employee Documentation
When filing taxes on behalf of your employees, you’ll need some basic information. This includes:
After gathering all the required information, log in to your Gusto account, and access the main dashboard. Look for ‘Get Started’ option and select it to fill in all the necessary details.
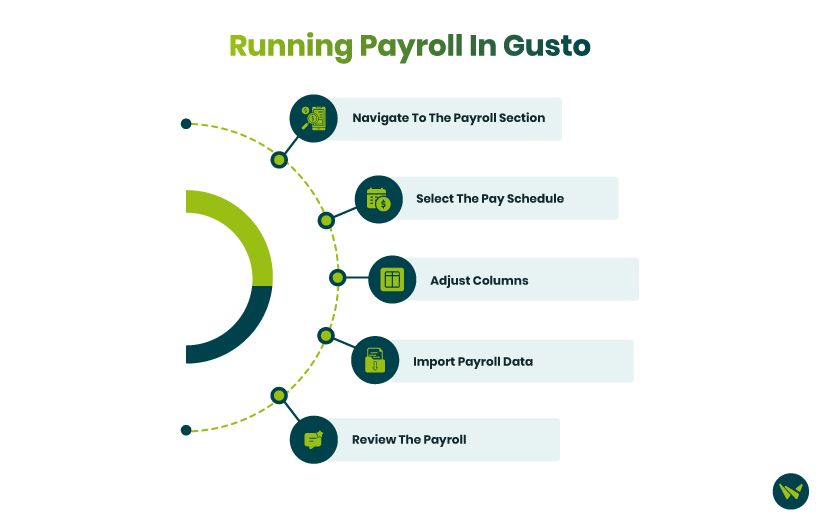
Once you are done with the initial setup, you can use the following steps to run the payroll:
Navigate To The Payroll Section
The payroll’s default layout is ‘Spreadsheet’, but you can toggle it to the ‘Legacy’ layout by using a button in the upper right corner.
Select The Pay Schedule
Determine the pay schedule for your payroll by:
Adjust Columns
Import Payroll Data
If your company already uses software or a process to keep track of employee data, you can conveniently transfer it to Gusto. To do it:
With this, the data will automatically be filled in on the main payroll spreadsheet. You can also manually adjust bonuses, paid time offs (PTOs), payment types, and more by simply clicking the boxes in front of individual employees and editing them. To apply changes to multiple employees at once, check the boxes on the left side of employee’s names. To select all the employees, click the ‘Select all’ button on the top before performing an action.
Review The Payroll
After filling out every required detail, head on to review your payroll before the final submission. You can do that by following these steps:
Select the employees that you are going to pay via checks. Then, choose the preferred printing format. For this, the software offers two options:
With blank checks, enter the desired number you want the checks to start from. Once selected, click on ‘See printable checks’. This will download the checks, which will allow you to print it.
Skipping Employees From Payroll
Managers can skip or remove employees from payroll. ‘Skipping’ will exclude them from the current payroll, while ‘Removing’ them will completely take them off the payroll sheet. Skipped payrolls cannot be undone, and if you decide to pay a skipped employee, you’ll have to run an off-cycle payroll.
How To Skip An Employee
Once you are on the spreadsheet, follow the steps below to remove an employee from the payroll:
How To Skip Multiple Employees
Again, access the spreadsheet and perform the following actions:
The skipped employees won’t be included in the ongoing payroll

Admins can run an off-cycle payroll using the following steps:
Gusto offers two payroll options: 2-day direct deposits and next-day direct deposits. Let’s break these down below.
2-Day Direct Deposit
Administrators will have to run the payroll two days before the actual date they want the salaries to be deposited.
Next-Day Direct Deposit
Next-day direct deposit is a quicker transaction. It allows employers to run the payroll by 5 pm local time and have the funds transferred the next day.
