Need to update your bank details or switch where your paycheck lands? With Netchex, updating your direct deposit information is simple and only takes a few minutes.
Whether you've opened a new account or want to manage multiple deposit destinations, the software gives you the flexibility to make changes anytime. Here’s a step-by-step process of how to change direct deposit on Netchex.

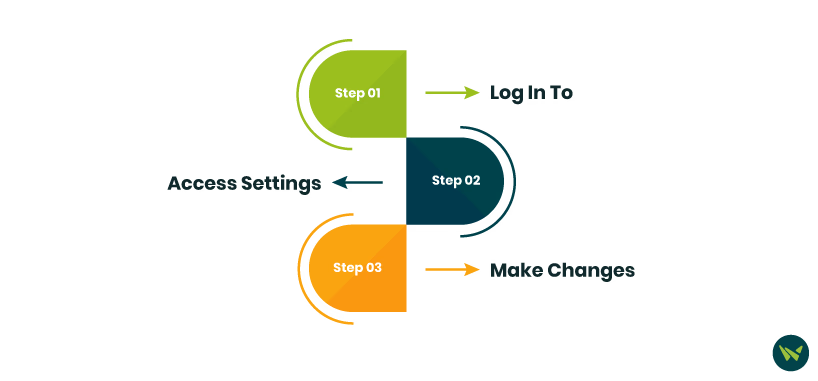
- Use your credentials to log in to the platform and access the main dashboard
- Once logged in, look for the ‘My Quick Links’ section on your dashboard
- Click on ‘Direct Deposit Accounts’ to access your current direct deposit setup

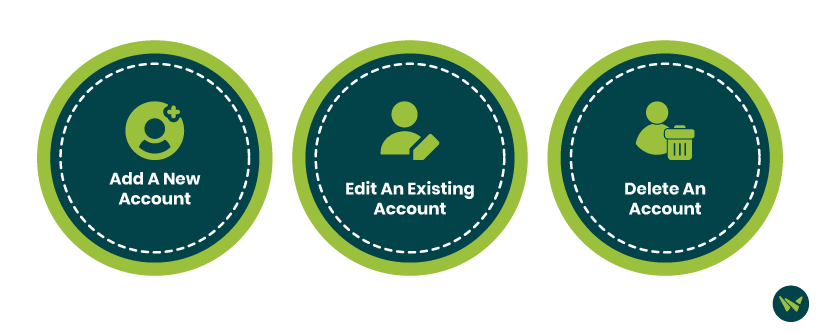
- Add A New Account: Click the +ADD button located in the top-right corner to enter details for a new bank account
- Edit An Existing Account: Click the pencil icon next to the account you want to update
- Delete An Account: Click the trash can icon if you need to remove an old or unused account
Pro Tip: Make sure your new account information is accurate to avoid payment delays. Double-check your routing and account numbers before saving any changes.
