One of the first things you'll do when starting a shift is clocking in through the When I Work app. For new users, it can be slightly confusing. Since the interface is new, it might take some time to become familiar with the clock-in section of the app. This guide provides you with clear instructions for using the clock-in feature on both the mobile app and the web version. It also includes practical tips to help prevent common mistakes and ensure your shifts are recorded accurately. Let's get started!

When I Work is a scheduling and time-tracking app trusted by more than 150,000 businesses across various industries like restaurants, healthcare, call centers, and retail. It helps manage shifts, track attendance, and keep teams connected in one place.
Before clocking in, you need to log in to your When I Work account:
Once logged in, you’re ready to clock in for a shift. The following sections explain how to clock in using the mobile app and the web app.
The When I Work mobile app provides a simple interface for clocking in. The app’s dashboard is your home screen, where you’ll see your next shift and a prominent ‘Clock In’ button. (Note: Make sure your employer has enabled mobile clock-ins for your workplace; otherwise, the option may not appear.)
Steps To Clock In On Mobile:
- Launch the When I Work app on your iPhone, iPad, or Android phone, and go to the ‘Dashboard’ tab (home screen). You should see your next shift information and a green ‘Clock In’ button on this screen
- Tap the ‘Clock In’ button on the dashboard to start the clock-in process
- Select shift or position (if prompted):
- If you are scheduled for a shift, the app may confirm which shift you’re clocking into by showing details like the role and location (e.g., Your Cashier shift at Northeast starts at 12 p.m.)
- If you don’t have a scheduled shift or you work multiple positions, the app will ask you to choose which position (and possibly which job site) you are clocking in for. Select the appropriate option from the list
Note: Your employer can choose to restrict clock-ins to scheduled shifts only, so if you’re not on schedule, you might be blocked from clocking in.
You have the option to add a clock-in note (for example, to leave a message or information for your employer about your shift). This step is optional – you can type a note if needed
After any prompts and notes, click ‘Clock In’ again to confirm. The app will record your clock-in time. You should see a confirmation message indicating you’ve successfully clocked in. For instance, a message like ‘You are now clocked in’ will appear on the screen
If your employer allows it, you can also clock in using the When I Work web app on a computer. This is handy if you’re at a desktop or if your workplace uses computers as clock-in terminals. Make sure you are logged in to the web dashboard before proceeding.
Steps To Clock In On The Web:
- On the web dashboard, hover over the ‘Attendance’ menu in the top navigation bar. In the dropdown, click ‘Clock In’
- If you’re an employee, you’ll see the Clock In/Out option there. Managers and admins will also find ‘Clock In’ under ‘Attendance’, alongside other tools like ‘Timesheets’ or ‘Time Tracker’
- If your workplace has enabled location restrictions for clocking in, your browser will prompt you to allow location access. This is to ensure you’re clocking in from an approved location. Tap ‘Allow’ or ‘Share Location’ when asked. (The exact prompt depends on your browser – for example, Chrome or Safari will pop up a request at the top of the window)
- You can add a quick note in the provided field (for example, a comment about what you’ll be working on or any info your employer requires). This step is optional
- Select the ‘Clock In’ button to submit your clock-in. The system will record your start time. You should then see a small confirmation message on the screen confirming that you’re clocked in
After these steps, you have officially clocked in via the web app. Your name or status might be updated on the schedule or attendance list for your manager. When it’s time to clock out, you would use the Attendance > Clock Out option in a similar way (including allowing location, entering tips/notes if applicable, and then confirming clock-out).

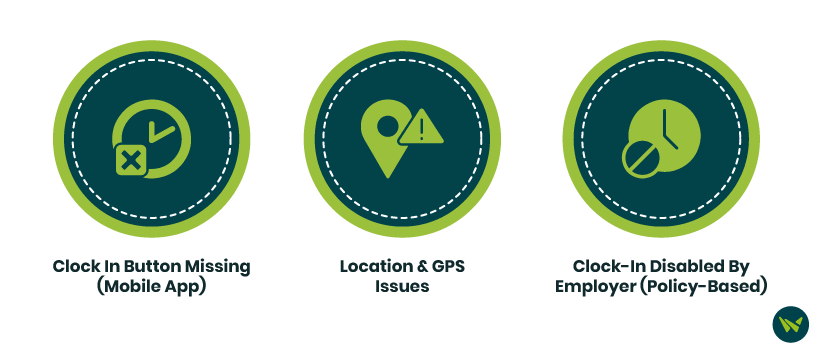
Even with a straightforward process, you might encounter some issues when trying to clock in. Here are common problems and how to address them:
Be sure to clock in for the correct shift, especially if you have multiple roles or jobs in the app. If you encounter any error messages, read them carefully—they often hint at the problem. But if you're still unsure what's causing the issue, feel free to contact us for additional support.
