
KanTime is a comprehensive home health and hospice software solution designed to help agencies manage everything from patient intake and scheduling to clinical documentation, billing, and compliance. Trusted by patients and professionals nationwide, the platform has processed $23.4 billion in claims, scheduled 211 million visits, and served 1.52 million patients, making it one of the most widely used solutions in post-acute care.
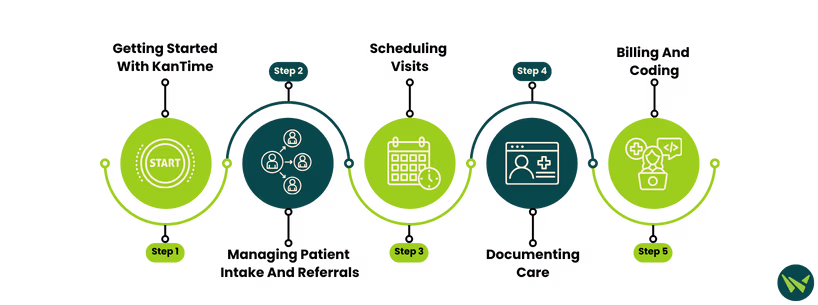
In this guide, we will walk you through the key steps for using KanTime effectively. Whether you are a new user or already familiar with the platform, these step-by-step instructions will help you navigate it more efficiently.
Follow these simple steps to log in and start using KanTime:
- Go to the official ‘KanTime Portal URL’ provided by your agency
- Enter your assigned username and password to log in
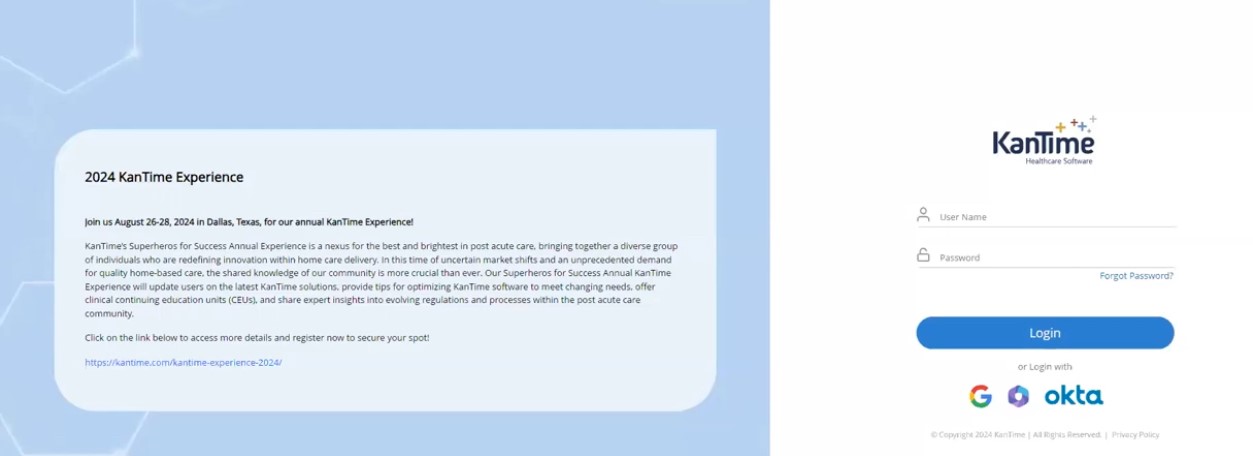
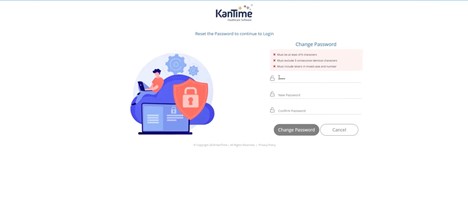
- If logging in for the first time, you will be prompted to change your password
- Set your new password and click the 'Change Password' button
- Once logged in, you will be directed to your homepage, where you can access tasks, schedules, and other features
KanTime simplifies the intake process by organizing referrals and tracking their progress through a centralized dashboard. Follow the steps below to manage patient intake and referrals efficiently using this platform:
- Organize all referrals in the ‘Client Intake List’ to track potential clients
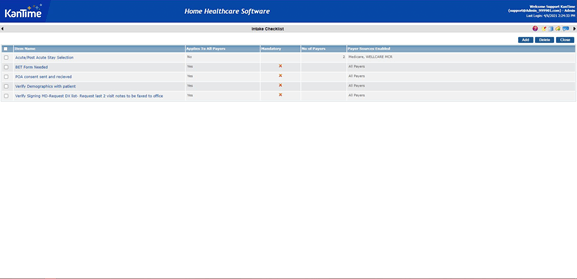
- Complete the ‘Custom Pre-Payer Checklists’ to ensure all mandatory payer requirements are met before processing
- Use the ‘Intake Module’ to manage waiting lists, allocate staff, and track progress of referrals
- Assign an overseeing physician with the ‘Physician Assignments’ feature to ensure proper approvals
- Use the ‘Clinician Skill-Matching’ tool to assign a physician or clinician based on skills, location, and availability
KanTime's offers a suite of advanced tools to optimize the scheduling process for home health providers. Here's how you can efficiently schedule visits in KanTime:
- Go to the ‘Scheduling’ tab to view shifts that need to be assigned
- Use the ‘Clinician Search Wizard’ to find the best-matched clinician based on skills, geographic proximity, and patient preferences
- Review the populated list of clinicians and sort them based on distance and turn-by-turn directions to the patient’s home
- Access the ‘Dashboard Alerts’ to address unassigned schedules, pending check-ins, or potential double bookings
- Use the ‘Drag and Drop Modifications’ to adjust visit plans and free-form schedules
- Set up ‘Repeat Scheduling’ for recurring visits based on the patient’s care plan
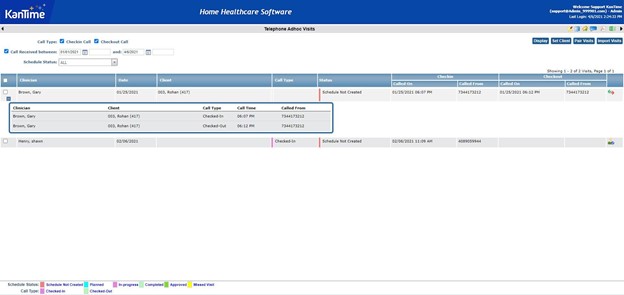
- Use ‘Ad-Hoc Visit Tracking’ to allow caregivers to clock in and out for unscheduled visits
Here’s how you can streamline the documentation and charting process in KanTime:
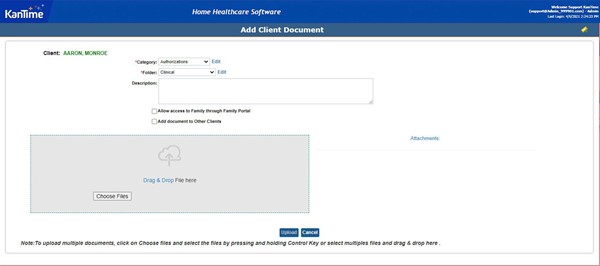
- Use the ‘Point-of-Care Documentation’ tools to store, organize, and access clinical documents in a centralized location
- Download and send files securely within the system to eliminate email-based document sharing
- Set up ‘Individual Client Management’ to configure documentation rules for specific patients
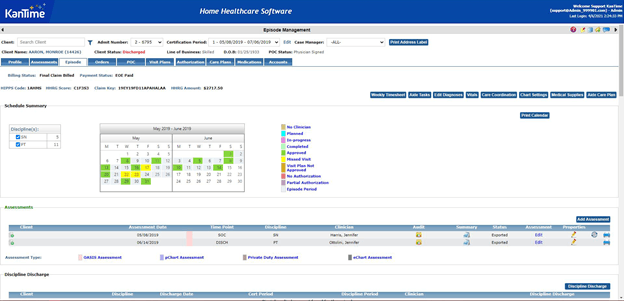
- Get ‘Dashboard Alerts’ for real-time notifications on incident reports, infection control requirements, and abnormal vital signs
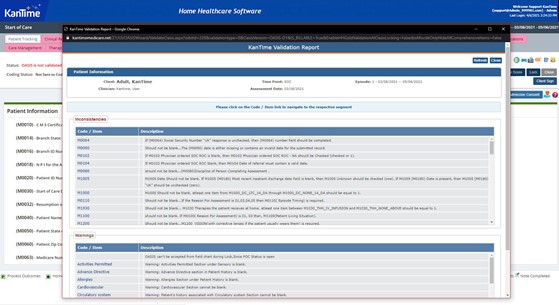
- Open the ‘Assessment Management’ tool to streamline assessments, automatically document completed admissions, and access the OASIS Manual
- Access ‘Discharge Management’ tools to coordinate post-acute care, engage caregivers, and minimize patient readmissions
Pro Tip: In areas with limited connectivity, use the KanTime ICE mobile app to document patient care offline and securely sync data once a Wi-Fi connection is available.
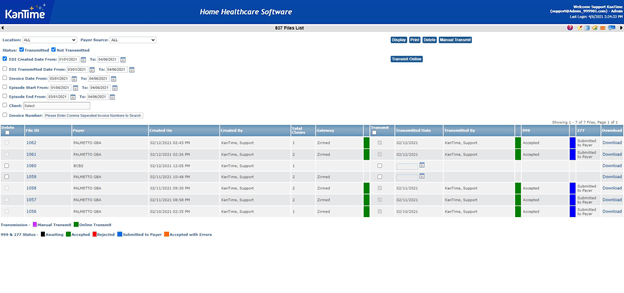
If you are experiencing challenges with billing and coding in KanTime software, follow these steps to optimize the process:
- Go to the ‘Billing’ module to access financial workflows, clinician payroll settings, and advanced widgets for claim processing
- Verify clinician locations using ‘Location Tracking’ within the timesheet view to confirm Electronic Visit Verification (EVV) compliance
- Use ‘Client-Level Billing Overrides’ to enter consistent occurrence codes
- Assign modifiers to procedure codes to provide additional claim details when required
- Use the ‘HCFA/UB04 Claim Form View’ to review and edit claims before submission
- Send claims directly to the clearinghouse with built-in EDI workflows
- Use built-in ‘episodic billing workflows’ to streamline claim approvals and clinical management
Home healthcare agencies face ongoing challenges, from staffing shortages to rising costs and complex regulations. A reliable system like KanTime can help streamline workflows, optimize efficiency, and ensure compliance.
Many agencies have already seen the benefits. For example, Ageless Living Home Health, a pediatric home healthcare agency in Texas and Colorado, used KanTime to replace its outdated software and eliminate costly inefficiencies. The agency was able to reduce billing errors, improve compliance, expedite onboarding, and gain visibility into claims. This demonstrates how the right technology can make a real difference.
You can also follow the steps outlined above to realize the full potential of this software. If you still have questions or want to see KanTime in action, schedule a free demo today to learn how it can support your agency.